


Unit testing’s benefits aren’t restricted to just a few languages. To prove that, today, we’re focusing on TypeScript unit testing.
In this post, you’ll learn how to unit test your TypeScript code in a hands-on tutorial. You’ll also learn what unit testing is and what you gain from using it.
Since this is a tutorial, there are a few requirements you should meet before we get started:
- Basic knowledge of JavaScript (I’m not assuming you have prior knowledge of TypeScript.)
- Some familiarity working with the command line
- Node.js/npm installed
- A code editor or IDE. I’ll be using Visual Studio Code.
TypeScript Unit Testing: The Basics
Before we can roll up your sleeves, let’s get the basic questions out of our way.
What Is Unit Testing? What’s the Benefit?
Software testing comes in many sizes and shapes, but we can group all of those into two big buckets: manual and automated testing. Unit testing belongs to the latter group. It’s a type of automated testing that verifies that tiny pieces—the so-called units—of an application work the way you expect, but in complete isolation. In other words, when unit testing, each unit shouldn’t communicate with other units or with dependencies that are external to the code—e.g., the filesystem, a database, a call to a REST API, etc.
What’s the benefit of testing in this way? Here are a few:
- Unit tests tend to be fast, providing quick feedback to engineers.
- You get laser-focus feedback: when a unit test fails, you usually know precisely where the problem is.
- You get feedback on your code’s quality—hard-to-test code is a sign of design issues, architectural problems, or code smells.
- There’s protection against regressions.
- Unit tests also work as executable code documentation.
- Unit testing makes refactoring possible.
How Does TypeScript Unit Testing Differ From JavaScript Unit Testing?
As you’re probably aware, TypeScript is neither a library (like React) nor a framework (like Angular). Instead, it’s a programming language, a superset of vanilla JavaScript. TypeScript augments regular JavaScript with static typing, some functional niceties, and more features.
TypeScript unit testing differs from regular JavaScript unit testing in at least two ways. First of all, by leveraging static typing, a whole class of errors becomes impossible. So, you probably end up writing fewer tests. Also, TypeScript unit testing requires you to install some additional packages, which are needed to make the unit testing tools work with non-standard JavaScript syntax.
TypeScript Unit Testing: A Practical Example
Now it’s time to get your hands dirty with our step-by-step guide on TypeScript unit testing.
Installing the TypeScript Compiler
Your browser can’t run TypeScript code. That means you need an additional step to convert TypeScript code to regular JavaScript so browsers can run it. You’ll need the TypeScript compiler to do that, so let’s install it. Run the following command from your terminal:
npm install -g typescript
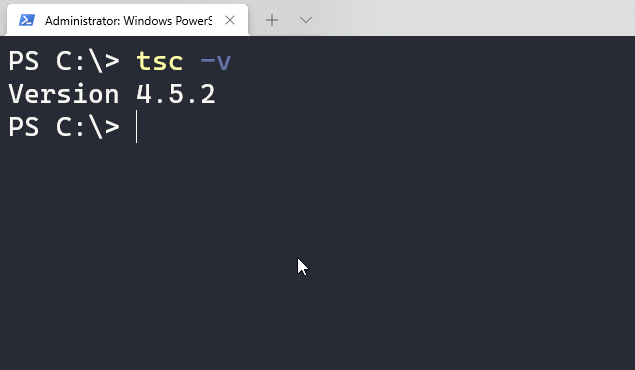
The -g means you’ve installed it globally. Verify the installation using the following command:
tsc -v
You should see the current version displayed:
Creating the Basic Folder Structure for the Project
Start by creating a folder for the project and accessing it:
mkdir tsdemo
cd tsdemo
In this folder, let’s create a src folder for the source code and a test folder for the unit tests:
mkdir src
mkdir tests
Now, let’s use npm to initiate a new project. On the root of the tsdemo folder, run:
npm init -y
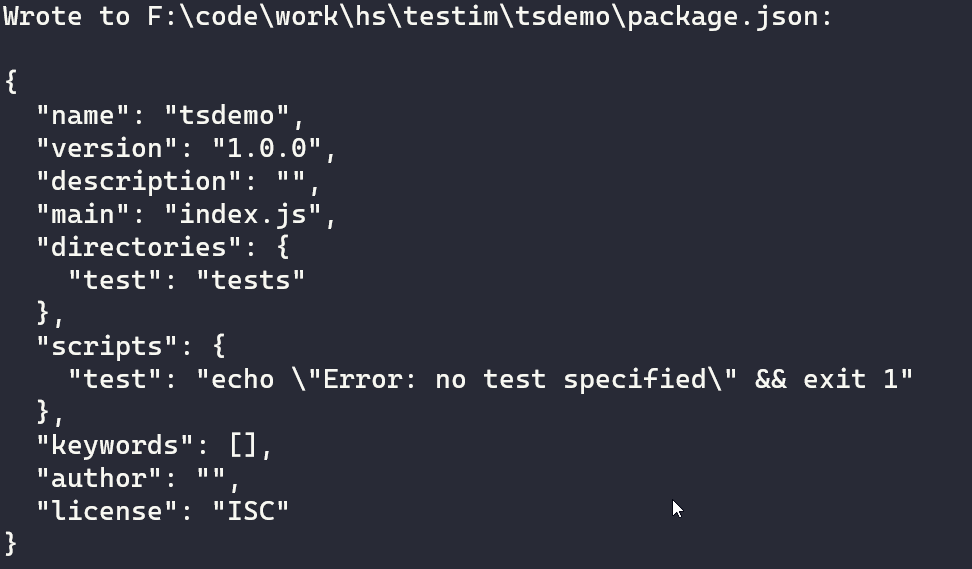
When you use npm init, you’re usually asked several questions. The -y flag ensures we’re answering the defaults for all of these questions. You’ll see a result like this:
Adding TypeScript to the Project
The next step is adding TypeScript as a development dependency to the project:
npm install typescript --save-dev
Your package.json file should now list TypeScript as a dependency:

Writing TypeScript Code
Let’s finally write some TypeScript code. The code we’ll use is a solution to the String Calculator Kata programming exercise, proposed by Roy Osherove. The idea is to have a method that takes a string containing numbers separated by commas as a parameter and returns their sum. There are a few additional rules:
- Passing an empty string should result in zero.
- Passing a single number should result in the number itself.
- Numbers greater than 1000 should be ignored—e.g., “1,2,1001” should result in 3, but “1,2,1000” should result in 1003.
- Passing negative numbers should result in an exception thrown, with the negatives passed listed in the exception message.
Using your code editor of choice, create a file called index.ts inside the src folder. Paste the following code in it:
function add(numbers: string): number {
    let integers = numbers.split(',').map(x => parseInt(x));
    let negatives = integers.filter(x => x < 0);

    if (negatives.length > 0)
        throw new RangeError('Negatives are not allowed: ' + negatives.join(', '));

    return integers
        .filter(x => x <= 1000)
        .reduce((a, b) => a + b, 0);
}

let result = add('1, 2, 4, 5');
console.log(result);
As you can see, by the end of the file, we call the add method and print the result to the log. What about running the code? First, compile the file to regular JavaScript:
tsc index.ts
Now you can use Node.js to execute the resulting file:
node index.js
You should see “6” displayed on your terminal if everything worked right.
What Do You Unit Test Here, and How?
Now that you have some production code, the next step is to test it. That leads to some questions. What exactly should we test here? In which way?
The thing about unit testing is that it’s particularly effective when testing code that is only concerned with business/domain logic. You wouldn’t use unit tests to check the integration between different modules or between the code and external dependencies—you have integration tests for that. Testing the app through its user interface? That’s what UI testing is all about.
The code in the example is a great fit for unit testing. Here are some of the scenarios you can unit test:
- Pass an empty string and check if you get zero as a result.
- Pass a single number and check if you get the number itself as a result.
- Check whether the code throws the expected exception if you pass negative numbers.
- Pass a string with several numbers and verify whether the result is expected.
Installing the Testing Tools
There are quite a few unit testing frameworks for JavaScript. We have to pick one, so let’s go with Jest.
Start by adding Jest as a development dependency. In the root of the project folder, execute the following:
npm install jest --save-dev
For the next step, you’ll have to install the ts-jest package to bridge the path between TypeScript and Jest, so to speak:
npm install ts-jest --save-dev
Finally, you must install the type definitions for Jest:
npm install @types/jest --save-dev
Writing and Running Your First Test
Now you have the pieces in their places, so let’s start testing.
Using your code editor, create a file inside tests named index.test.ts. The file should have this code:
import { add } from '../src/index';

describe('testing index file', () => {
  test('empty string should result in zero', () => {
    expect(add('')).toBe(0);
  });
});
The file starts by importing the add function from its file. Then, it starts a new test suite—with the describe function—and, inside that, it creates the first test. The first test expresses that when we call add passing an empty string, we expect the result to be zero.
Are we ready to test? Not yet. Our importing doesn’t work. Since I’m using Visual Studio Code, I see a red line and a helpful error message:
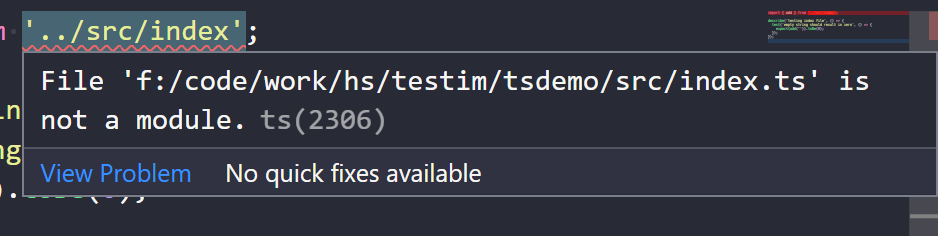
What’s happening is that, since we don’t export the index.ts file as a module, it can’t be imported. This is easy to fix. Return to the index.ts file and add the word “export” before “function.” While you’re at it, remove the last two lines—you’ll no longer need them since from now on you’ll test the function using Jest.
Finally, create an additional file called “jest.config.js” at the root of the project. It should have the following content:
module.exports = {
  transform: {'^.+\\.ts?$': 'ts-jest'},
  testEnvironment: 'node',
  testRegex: '/tests/.*\\.(test|spec)?\\.(ts|tsx)$',
  moduleFileExtensions: ['ts', 'tsx', 'js', 'jsx', 'json', 'node']
};
This file is necessary to perform the necessary transformation in order to turn TypeScript into regular JavaScript code.
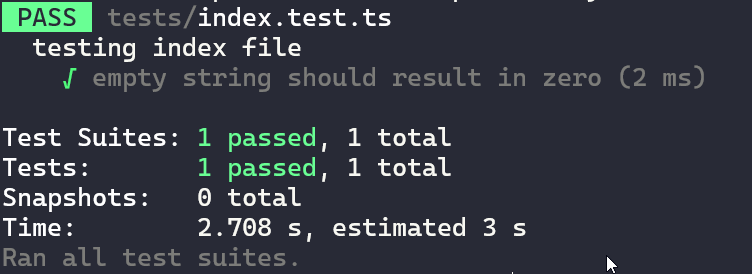
Now you can run the test using the jest command. You should see a result like this:
Wrapping Up
There are a lot of different types of automated software testing. If you’re familiar with the test automation pyramid, then you know unit testing is the type of testing you should probably focus most of your efforts on. This is true regardless of programming language, and TypeScript is certainly no exception.
In this post, we’ve covered how to get started with TypeScript unit testing. You can explore and learn more with the working foundation you now have. Happy testing!
What to read next
Unit Test vs. Integration Test: Tell Them Apart and Use Both
QUnit Tutorial: Start Unit Testing and Measuring Code Coverage


