

")
After publishing many posts about software testing, we’re here again to help you further increase your software testing knowledge. Today’s topic is Selenium Grid. Selenium is a widely used tool for web application testing. Selenium Grid, in turn, is a component of the Selenium suite that specializes in grid testing, which is a form of testing that allows teams to quickly and easily test their web apps across a variety of environments.
This post is an introductory guide to Selenium Grid. You’ll learn some fundamentals about grid testing and how to get started with Selenium Grid. Let’s get to it.
Grid Testing and Selenium Grid Fundamentals
Grid testing isn’t a hard concept to grasp. In short, it means being able to execute software testing in a variety of different environments simultaneously. The reason why that matters is simple to understand: we have a lot of browsers and operating systems, and you need to ensure your application behaves as intended in all or at least the most used of those environments.
Selenium Grid 4: Architecture and Components
Older versions of Selenium Grid (1 to 3) used to be simpler in their architecture. The fourth version is a little more complex, but also more flexible and powerful. It offers a few different options you can choose to configure your grid installation: standalone, classical (hub and nodes) and fully distributed.
Standalone Mode
The standalone mode allows you to execute a fully functional grid running all components on a single machine. It’s the quickest, easiest way to get started with Selenium Grid.
Classical Mode
The classical mode is also called the hub and nodes mode. This setup is indicate for small and medium grids, and consists of setting up a server (a hub) and then one or more agents (the nodes) as needed.
Fully Distributed Mode
The fully distributed mode is the setup recommended for large grids. This is the most advanced mode, and it requires you to start each component on its own.
Starting With Selenium Grid
Now you’ll see a hands-on guide on how to get started with Selenium Grid. At the time of this writing, the latest version of Selenium is Selenium Grid 4.
You’ll start by installing the required components. You’ll then learn how to install and configure a hub, how to install and configure a node, and how to perform your first Selenium Grid automation.
Getting the Requirements Ready
The Selenium components you’ll download in the next step are .jar files. That means you’ll need Java to be able to run them.
If you don’t already have Java installed, go to the Java download page to download and install it. After you’re done, fire up your terminal and run the following command:
java -version
If the installation is successful, you’ll see the version of your Java installation. Additionally, make sure you add the Java path to your PATH environment variable, so you can use the Java command from wherever you are.
Later on the post, you’ll need .NET 5.0 installed, since we’ll be using C# as the language of choice for creating our tests. If you don’t already have the .NET SDK installed, go grab that right now.
Downloading Chrome WebDriver
Your next step is downloading the adequate WebDriver according to your operating system and the browser that will be automated. For this tutorial, I’ll be driving Chrome on Windows. You can go to this page and download the correct version of the Chrome WebDriver according to the version of Chrome that you have installed.
After downloading the executable, make sure to place it somewhere easily accessible and, most importantly, add that location to your system path.
Creating Your Selenium Grid Hub
Your next step is to download the Selenium Server. Since this is a .jar file, it’s possible your browser will warn you about the file being potentially dangerous, like in the following image:
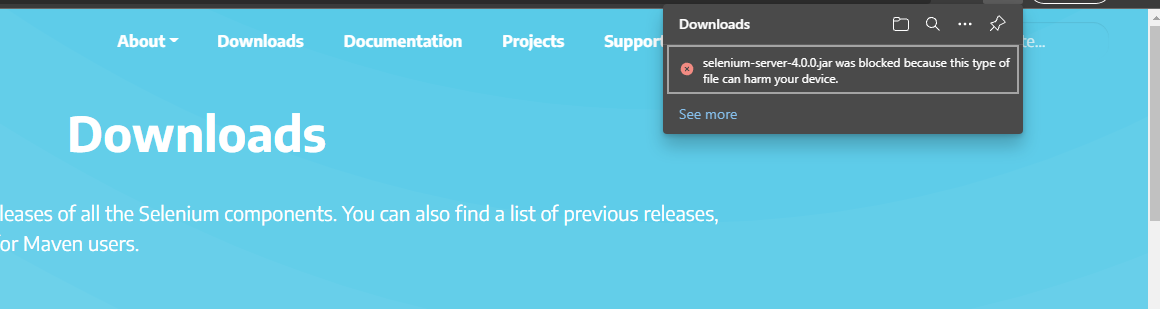
Don’t worry: the download is completely safe. The screenshot above depicts the download on Edge; to solve the problem using that browser, you’d just have to hover the error message, click on the 3 dots that will appear and then click on Keep, like in the following image:

This is how the message looks on Google Chrome:

In this case, you’d just have to click on Keep right away to mark the file as safe.
After the download is complete, move the file to a location where it’s easy to find. In my case, I’ll create a folder on the desktop and move the file there.
The next step is to start your hub. Run the following command:
java -jar <DOWNLOADED-FILE-NAME> standalone
Make sure to replace <DOWNLOADED-FILE-NAME> with the actual name of the downloaded file. In my case, the actual command I’ll be running is:
java -jar selenium-server-4.0.0.jar standalone
By default, Selenium Grid run on port 4444. If the command ran successfully, you should see success messages.
To easily verify if the hub is running, open a browser and access http://localhost:4444/grid/console.
For this version, this is what the initial page looks like:
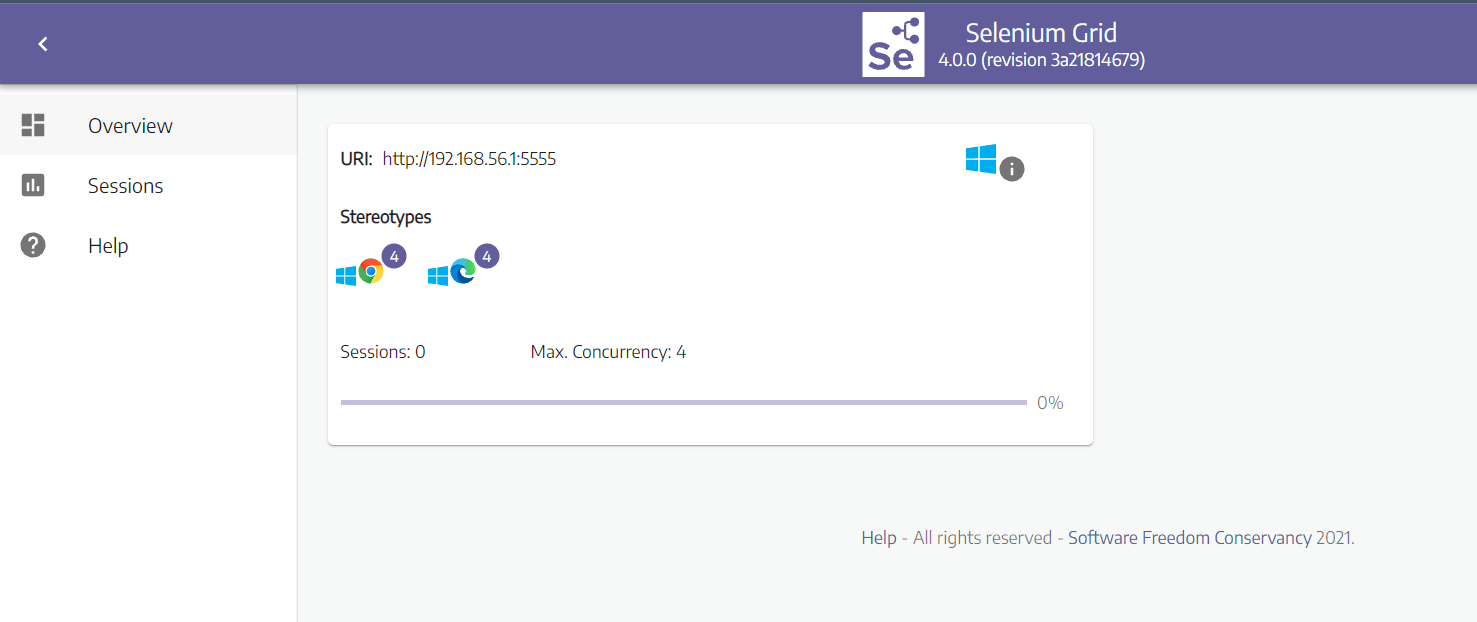
The image clearly shows that the node has 8 browsers configured: four Google Chrome and four Edge instances.
Executing Your First Test Using Selenium Grid
If you’ve been following the tutorial, you’ve successfully configured a hub and a node. You now have a successful Selenium Grid setup. The next logical step is to use that setup to execute some automation. So, let’s learn how to do it!
Defining the Test
Creating and running a test is actually quite easy. Though you can use several different programming languages for that, we’re going with C#. Using the .NET CLI, let’s start a new console application:
dotnet new console -o demo-grid-testing
With the application created, access its folder and then install the necessary NuGet package:
cd demo-grid-testing
dotnet add package Selenium.WebDriver --version 3.141.0
After the installation is done, it’s just a matter of writing a few lines of code. Open the contents of the folder using some code editor or IDE (I’ll be using Visual Studio Code.) Open the Program.cs file. First, let’s add the using statements so our code can communicate with Selenium:
using OpenQA.Selenium.Chrome;
using OpenQA.Selenium.Remote;
Inside the main method, let’s create a new instance of the ChromeOptions class:
var options = new ChromeOptions();
Now, create a new instance of the RemoteWebDriver class, passing both options and the URL for the hub as parameters:
var driver = new RemoteWebDriver(
                new Uri("http://localhost:4444"),
                options);
Now, we’ll add three more simple lines:
driver.Manage().Cookies.DeleteAllCookies();
driver.Manage().Window.Maximize();
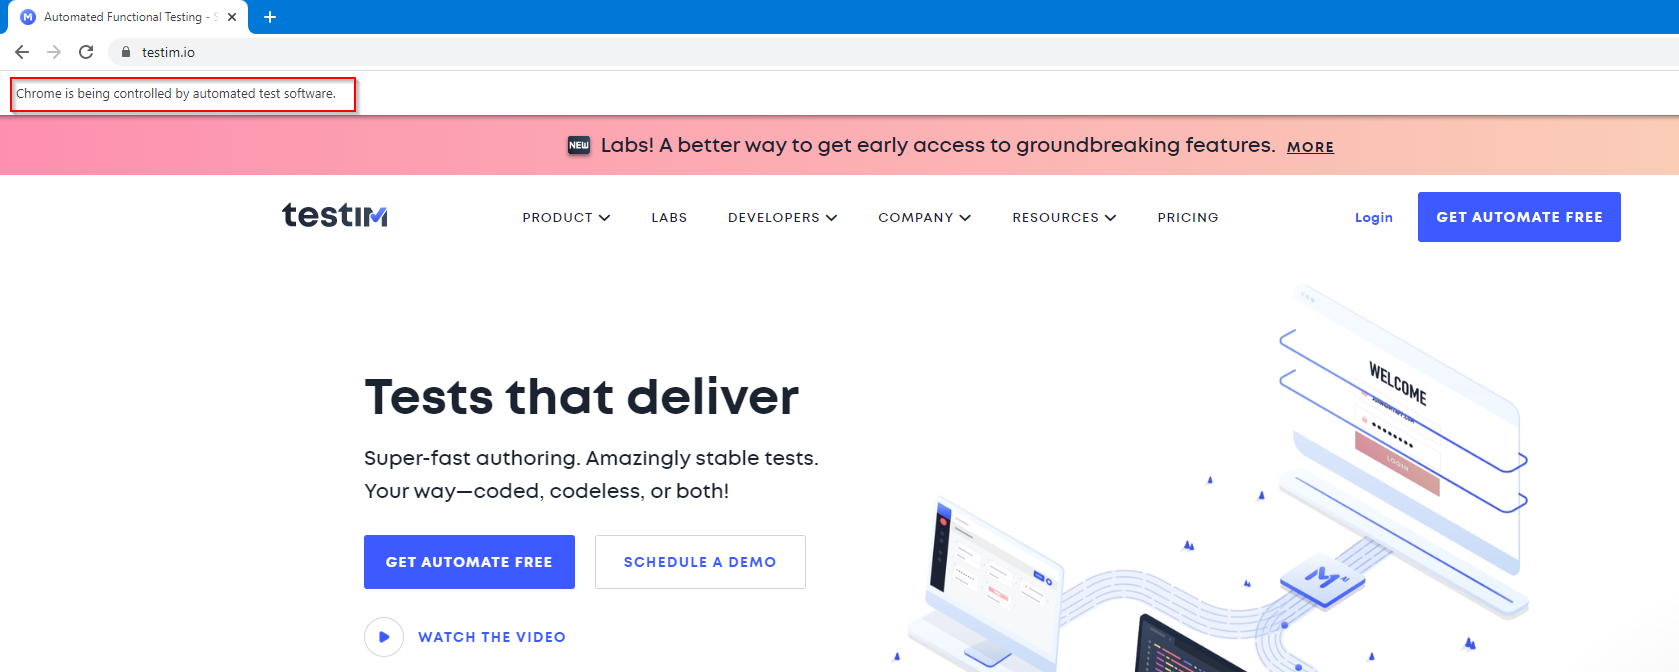
driver.Navigate().GoToUrl("https://testim.io");
The first line deletes all cookies, while the second one maximizes the window. Finally, the third line is where we list the actions we want the browser to perform automatically. In this case, we visit the URL for the Testim website. That’s all I’m doing for now, for simplicity’s sake. Keep in mind that, in a real test, you’ll write the interactions with the application. You can find elements by their names or IDs. You can click on links, buttons, and other elements. Additionally, you can define waits so your script doesn’t fail when you try to interact with an element that hasn’t been rendered yet.
After that, you can run your application by pressing F5, and you should see a new Chrome window opening and visiting the Testim website by itself.
And that’s it! You just ran your first automated test with Selenium Grid. Well done!
Selenium Grid Testing: Where Should You Go Now?
Selenium is one of the most popular tools used in web application testing, and not undeservedly so. Despite having some known shortcomings, Selenium is, in general, a solid tool. It comes in different versions that each address different types of testing needs. In this post, we’ve offered you an introduction to one of these flavors, Selenium Grid.
Selenium Grid is the Selenium suite component that enables grid testing, a form of software testing that is essential in our days of seemingly infinite combinations of operational systems, browsers, screen sizes, and other factors.
What should your next steps be? Now that you have a basic working Selenium setup, you can learn how to write your first Grid test. You can learn how to use the classical and distributed setups, for instance. Also, it’s worth it to learn more about the different configuration options for Grid 4, which include options related to the types and maximum number of sessions you want for each browser.
Later on, you can learn how to improve your existing setup, including using additional tools to spice it all up.
Thanks for reading!
What to read next
How to Fix Selenium’s “Element Is Not Clickable at Point”
What Is Grid Testing? Intro to Selenium Grid and Alternatives


")