


This is blog part 2 of 2 in a series written by one of the Testim startup plan customers who used a GitHub based Selenium grid, Riccardo Vincenzo Vincelli, CTO of Sharesquare.co
Sharesquare is a small startup out to change the way that companies offer equity rewards to their employees. They are using the Testim startup plan for free to test their web application.
Read part 1 here.
This is a technical blog on how to use Testim with GitHub CI/CD on a Selenium grid. It was originally posted on medium.
Enjoy. And, if you are a startup with fewer than 20 employees, apply here for the startup plan to get Pro features and unlimited local runs for free.
Last time we have set the scene for an integration of our Testim browser tests in an automated CI/CD fashion. Today we will plunge into the details of the grid machinery.
Running many tests together
After a first phase where running all tests one by one was ok, we quickly ventured into designing a proper setup to run many tests next to each other. This posed a number of questions:
- How to do it in a cost-effective way?
- How to make sure that the added complexity stays manageable and reasonable?
- What is the impact of the implicit order our tests must respect?
Questions numbered 1 and 2 are technical ones, related to our cloud operations. Question 3 is more of a reflection on some hidden assumptions we had in our test suites.
Aerokube Moon
In this phase of our development, it is imperative to keep our DevOps lean & mean: we don’t have a lot of budget for it, and we’re a small team — for now! DigitalOcean is our cloud provider of choice, so the first thing we did was to have a look there. Can we find some managed, and not extremely expensive, solution for our Selenium grid needs? The answer was, more or less, a yes; more or less because Moon:
- comes with a free plan with a parallelism of 4 (at least in DigitalOcean)
- requires a medium-size cluster, with some basic fixed costs
- is not a fully managed solution
To install it, just search for the solution on the marketplace, and configure the cluster respecting the stated minimum resources. In our case, a slightly beefier cluster:
- nodes: 2
- CPU: 8 vCPUs
- RAM: 16 GB
- disk: 320 GB works perfectly.
Attention: you do need two nodes at least! Otherwise, the Selenium grid will be unable to serve your runs properly, failing with cryptic pod errors in the background, while tests will seem unable to get a browser assigned!
Moon officially supports a number of other providers (check their website). But, you can also install it on your own (un)managed Kubernetes or Openshift cluster, have a look here.
Gotcha: the installed cluster did not work for us as-is. First, we had to edit the cluster configuration to keep browser pods from freezing and hanging when a test was done (see GitHub issue here).
Configuring Moon
There are two important pieces to the minimum required configuration for a relatively safe and fully functional site:
- authentication: we need to create that user we pass into the command line run
- Selenium site capabilities, most importantly: supported browsers and their versions
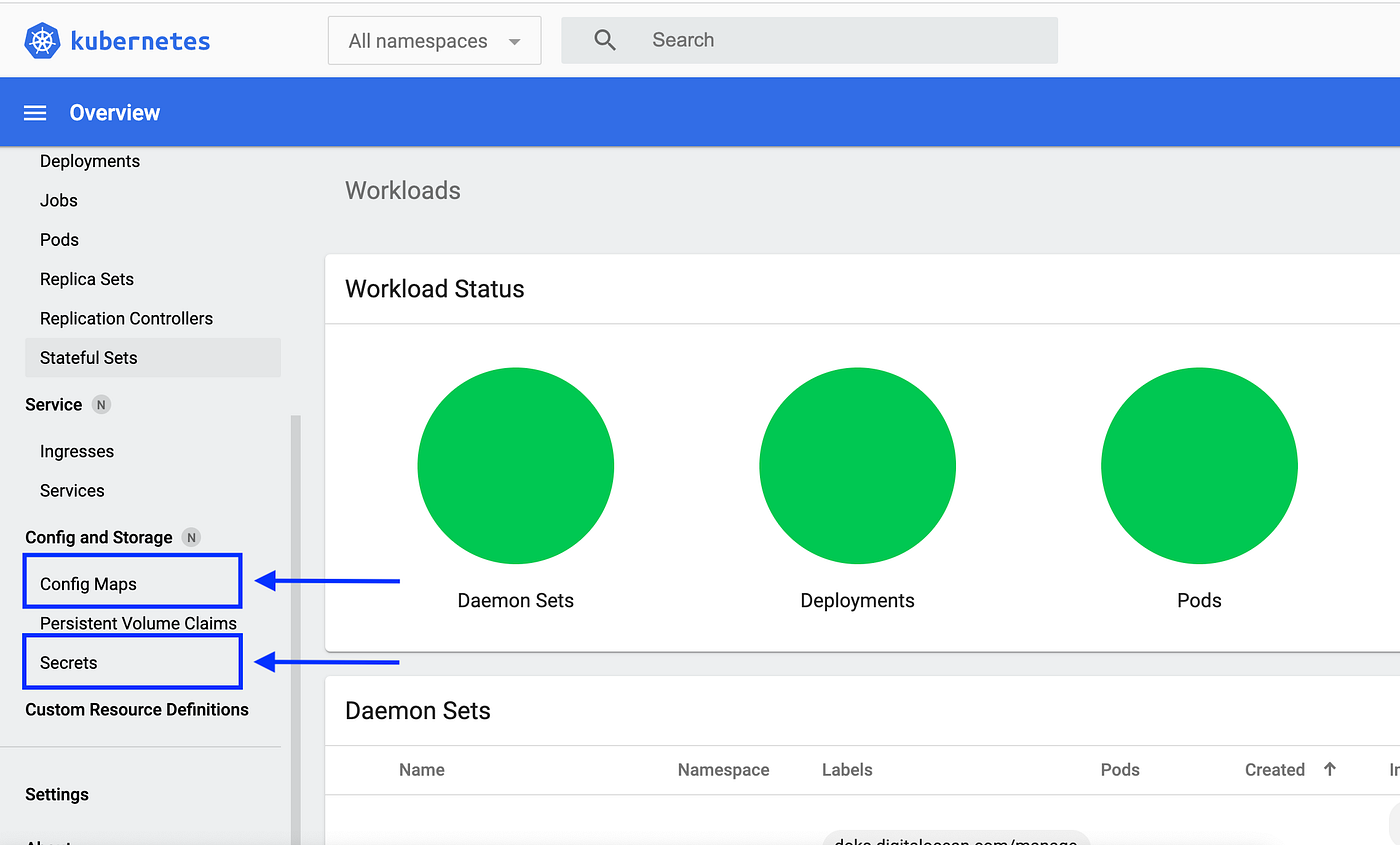
Adding users is explained here: in the moon namespace, create the users secret, which is just a good old .htpasswd file (so you are warned, the site is protected with HTTP simple auth, nothing more!).
The list of supported browsers and their versions is defined in the quota config map under moon; example:
where user1 is the user we created in the auth secret above, and for each browser, you list the supported versions, pulled from a number of Selenoid images maintained by the Moon team.
Once you are done, make sure your cluster has at least two nodes; then, you may launch the Testim CLI command filling in user1 and its password, and the magic starts!
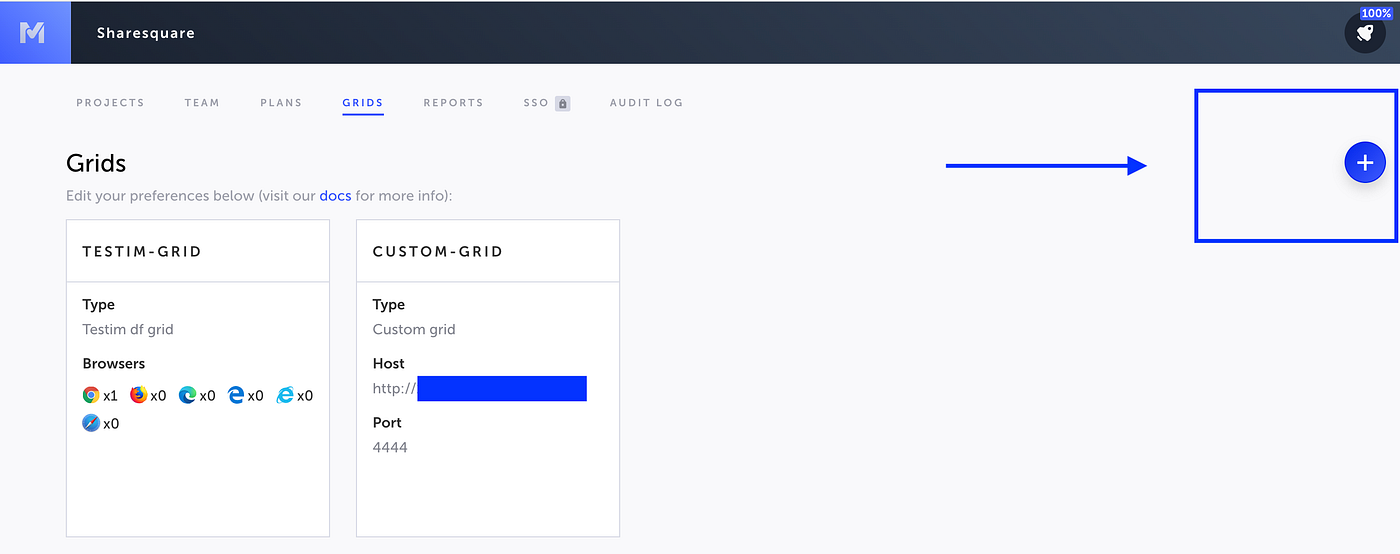
Testim grid reference
Once your cluster is ready, it is handy to add it into your Testim workspace. This is needed to refer to the newly created grid from the command line using a name for it, rather than a host and port. To add it, click Manage grids from the CI page, and add it as a custom grid.
Advanced integration
Once we got a very good integration, we wanted to go from very good to even better. Two questions popped up:
- We need the fully scaled-up cluster grid only when running tests-can we get a little smarter about it?
- Browsers get updates, and patching the configuration ourselves each and every time is error-prone-can we do it automatically?
The answer to both questions was: yes! So let’s see the hows. Getting a little smarter about costs is a known pattern with cloud infrastructure; when you don’t need something, turn it off. In DigitalOcean, and a few other major providers too, a Kubernetes cluster can’t just be “turned off”; either you delete it, or you have to keep it up with at least one node. Destroying the cluster after a release workflow and creating it again before it starts is just not possible (first of all, because of the bootstrap times in DO).
So what we do is just accept this setup comes with a fixed cost, represented by keeping the cluster turned on even when no tests are running. But, whenever it sits idle, make sure it’s using one node. So:
- at the very beginning of the release pipeline, use a Github step to upscale the cluster to the bare minimum of two nodes.
- when the workflow is done, regardless of errors, scale it down again.
The steps look like:
- name: Upscale grid cluster
  run: |
    echo "${{ secrets.GRID_CLUSTER_CONFIG }}" > kubeconfig.yml
    kubectl --kubeconfig kubeconfig.yml get pods -n ${{ env.GRID_CLUSTER_NAMESPACE }} --no-headers=true | awk '/^chrome-/{print $1}'| xargs -r kubectl --kubeconfig kubeconfig.yml delete -n ${{ env.GRID_CLUSTER_NAMESPACE }} pod curl -kX PUT \ -H "Content-Type: application/json" \ -H "Authorization: Bearer ${{ secrets.GRID_CLUSTER_PAT }}" \ -d '{"count": ${{ env.GRID_CLUSTER_SCALEUP_NODES }}}' \ "https://api.digitalocean.com/v2/kubernetes/clusters/${{ secrets.GRID_CLUSTER_CLUSTER_ID }}/node_pools/${{ secrets.GRID_CLUSTER_POOL_ID }}"
and
- name: Downscale grid cluster (notice the if!)
  if: always()
  run: |
    curl -kX PUT \ -H "Content-Type: application/json" \ -H "Authorization: Bearer ${{ secrets.GRID_CLUSTER_PAT }}" \ -d '{"count": ${{ env.GRID_CLUSTER_SCALEDOWN_NODES }}}}' \ "https://api.digitalocean.com/v2/kubernetes/clusters/${{ secrets.GRID_CLUSTER_CLUSTER_ID }}/node_pools/${{ secrets.GRID_CLUSTER_POOL_ID }}"
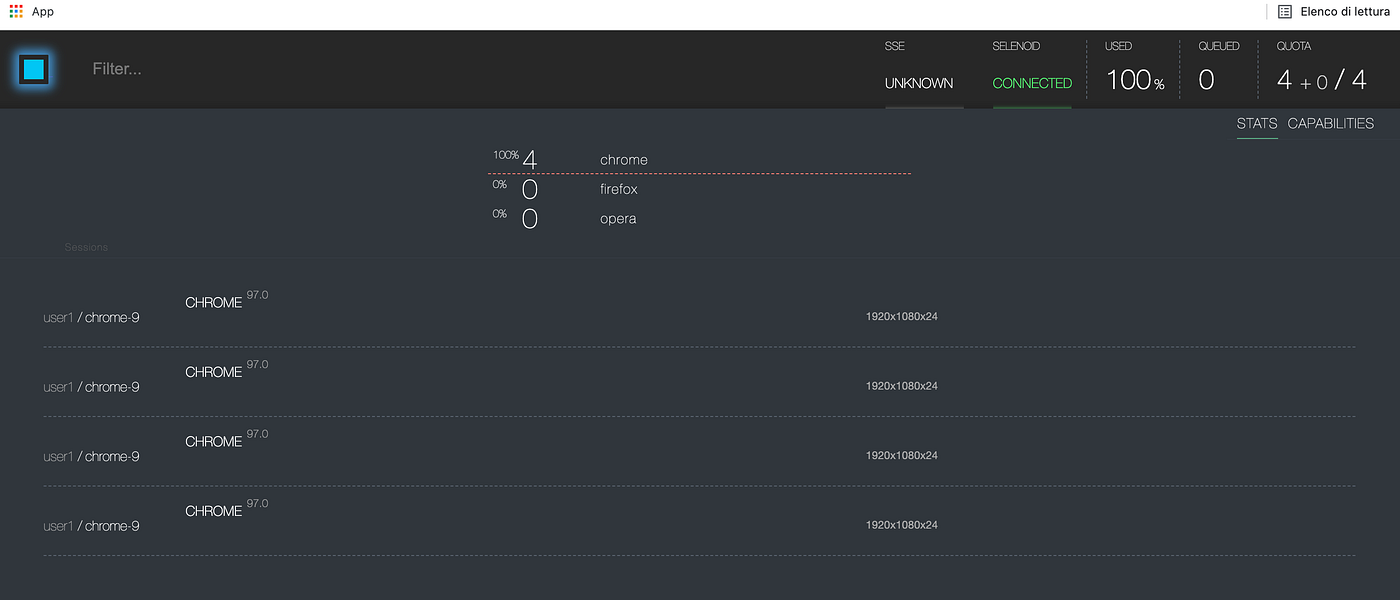
This approach will be fine if you have enough time between step 1 and the Testim step. Upscaling a cluster should take a couple of minutes, and your grid must be fully up & running before you hit the testim launch. Once running, monitor the browser runners by opening the grid webapp at https://:8080.
Also, beware of the following: downscaled, your cluster won’t be useful to the rest of the world as a Selenium grid, at least with Moon and everything, but if the underlying Kubernetes cluster is totally open, everybody from the world can see it!. Generally, this is not something we want, of course. A fully secure setup is outside of the scope of this blog post, but take it as a heads up.
This works fine for our case, where the GitHub Actions workflow has a concurrency set to 1; at most one workflow may be run at a time. So, it can never be the case that the downscale step gets in the way of the upscale step from another run, etc.
A little extra
Selenium runtime environments for a test are based on the concept of capabilities:
- a grid site has a predefined set of supported capabilities, per-user or context
- a test launch will put forward its requests, and the grid will try and satisfy those
If you specify your capabilities with the testim argument --selenium-caps-file caps.json, your JSON file will look like this:
Your submitted preferences will be first merged with the defaults Testim provides. This merge is actually a JSON merge, property by property, with the Testim copy; I am not sure what that copy looks like though, I couldn’t find any documentation on that!
An example of how the grid will try to satisfy your preference, when possible:
- version
100for Chrome does not exist in thequotaconfigmap: a run submitting this is supposed to fail (or give a big warning, at least) - using
97instead, it will work: the best pick (i.e. latest) will be used
For the details of this stuff, refer to the documentation and support of the relevant projects (Moon and Selenium). Enabling VNC on a Moon grid makes it possible to stream the test browser session in the browser so that you can see what’s going on (how the page loads, what gets clicked etc). This is useful for debugging, although it must be protected if kept on at all times (with a list of VNC allowed hosts etc).
In this two-piece blog story, we have had a close look at a GitHub CI/CD setup for Testim, in a fully remote and cloud fashion. In particular, we have discussed how it can be embedded into Github Actions workflow releases, and how to rely on an external service for a Selenium grid cluster. Want to know more? Reach out to the Testim team!
Blog about GitHub CI/CD set up for Testim by Riccardo Vincelli, riccardo@sharesquare.co


