


Testim Puppeteer Recorder was discontinued on April 30, 2023. We are preserving this post for your reference.
End-to-end testing involves testing the complete flow of an application from start to finish. It can be a manual test done by running the application in an actual browser and trying out features to see if things work as expected. However, a better option for testing JavaScript applications is using testing frameworks like Jasmine and Puppeteer.
In this post, you’ll learn how to perform end-to-end testing using Puppeteer. We’ll create a simple login page, learn how to use Jasmine and Puppeteer, and then test the login page to verify that the page behaves as expected when valid or invalid credentials are entered. Let’s get started!
Why Puppeteer
Puppeteer is a tool created by the Google Chrome dev team that can perform most of the actions you perform manually in Chrome. Puppeteer can automatically process actions like opening a webpage, clicking links and buttons, and typing text into text fields.
With Puppeteer, running end-to-end testing for your application is as easy as writing a few lines of code. Puppeteer doesn’t require any special configuration to get started. When you download Puppeteer, it installs its own version of Chrome. But if you prefer to use a browser you already have installed, you can install the puppeteer-core package.
Requirements
To follow along with this tutorial, you’ll need the following:
- Node.Js
- Jasmine Node.js package
- Puppeteer Node.js package
- Basic knowledge of JavaScript
Getting Started
Before we start writing any tests, follow these steps to set up the login page that we’ll be testing.
First, create a new project. To do that, you need to enter a command in Terminal or Command Prompt.
If you’re on MacOS/Linux, the command is:
mkdir login-app
Windows users should enter the following command instead:
md login-app
The above command will create a new login-app folder inside your current directory. This is where you’ll save all files for the login page and tests. Enter cd login-app on Terminal or Command Prompt to make login-app your current directory.
Open your preferred text editor and create a new HTML file in the login-app directory. Save the file as index.html. Next, add the following code to the index.html file:
<!DOCTYPE html>
<html lang="en">
<head>
    <link rel="stylesheet" href="https://stackpath.bootstrapcdn.com/bootstrap/4.4.1/css/bootstrap.min.css" integrity="sha384-Vkoo8x4CGsO3+Hhxv8T/Q5PaXtkKtu6ug5TOeNV6gBiFeWPGFN9MuhOf23Q9Ifjh" crossorigin="anonymous">
    <meta charset="UTF-8">
    <title>User Login</title>
</head>
<body>
<div class="container">
    <div class="row">
        <div class="col-12 mt-4">
            <div style="max-width: 400px; margin: auto">
                <div class="row">
                    <div class="col-12" id="message"></div>
                </div>
                <form>
                    <div class="form-group">
                        <label for="username">Username</label>
                        <input type="text" id="username" class="form-control">
                    </div>
                    <div class="form-group">
                        <label for="password">Password</label>
                        <input type="password" id="password" class="form-control">
                    </div>
                    <input type="button" id="login-btn" class="btn btn-primary" value="Login" onclick="login()">
                </form>
            </div>
        </div>
    </div>
</div>
<script>
    function login() {
        let username = document.getElementById('username').value;
        let password = document.getElementById('password').value;

        let messageContainer = document.getElementById('message');

        const validPassword = 'rango';

        if (password == validPassword) {
            messageContainer.innerHTML =`
            <div class="alert alert-success" role="alert">
                <h3>Login Successful!</h3>
                <p>Welcome back ${username}</p>
            </div>
            `;
        } else {
            messageContainer.innerHTML =`
            <div class="alert alert-danger" role="alert">
                <h3>Login Failed!</h3>
                <p>Invalid username/password entered.</p>
            </div>
            `;
        }
    }
</script>
</body>
</html>
The code above creates a simple HTML page for user login. It uses bootstrap 4 CSS framework (via CDN) for styling HTML elements. The login page has fields for a username and a password like most traditional login pages. In the JavaScript section of the code, the following happens:
- If login is successful (a combination of any username and password “rango”), we add a bootstrap alert-success to the page.
- When login is not successful, we add alert-danger to the page instead.
Next, enter npm init in Terminal or Command Prompt and follow the prompts to create a package.json for the new project.
Setting up a Local Node.js Server
To set up a local server for running the login page, install the http-server node package. To do that, enter the following command in Terminal or Command Prompt:
npm install http-server -g
Create a new subdirectory with the name “public” inside your project’s root directory. After that, move the index.html you created in the previous step to the new public folder.
To start running your project in a browser, open your project directory in a new Terminal window or Command Prompt and type the following command:
http-server ./public
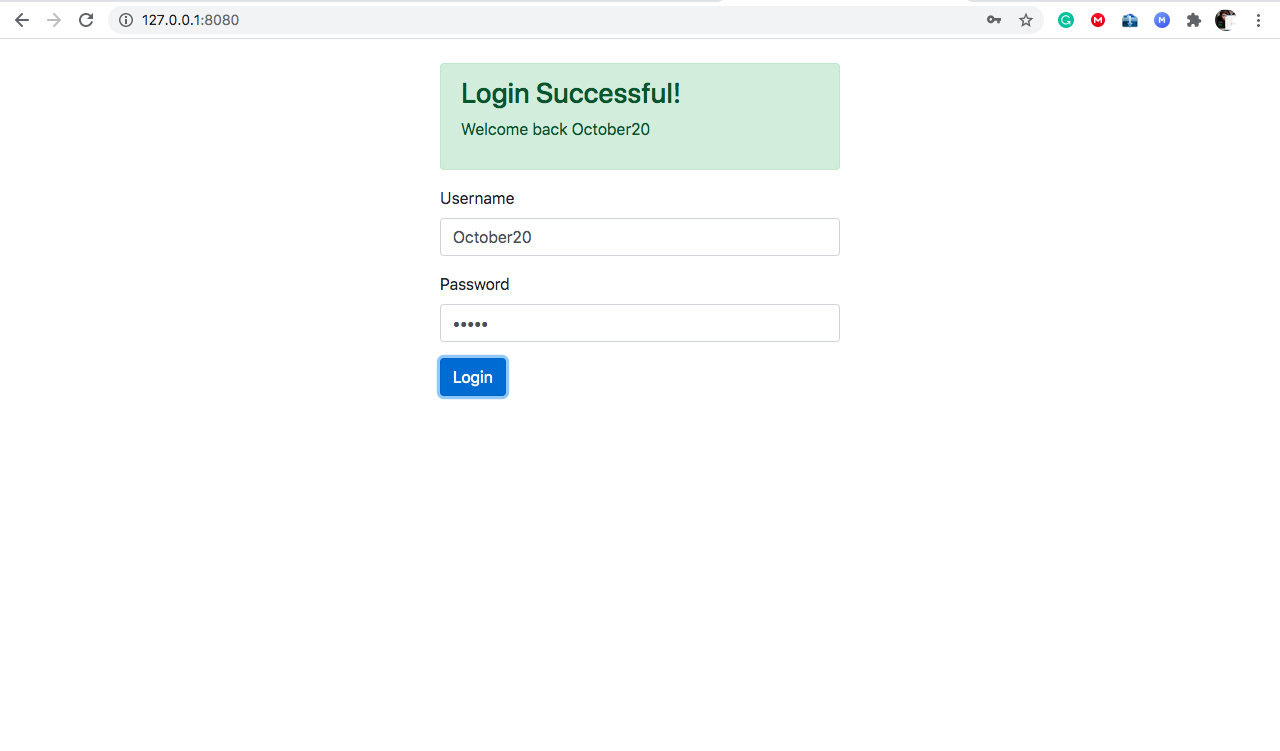
Visit http://127.0.0.1:8080 to view the login page in a browser. Note that you’ll need to confirm the current port for http-server in the Terminal/Command Prompt window.

Install Jasmine
Jasmine is a popular testing tool for JavaScript. We’ll use it in our tests. Follow the instructions below to add Jasmine to your project.
Enter the following commands in Terminal or Command Prompt:
npm install --save-dev jasmine
npx jasmine init
The first command will install the Jasmine node package, and the second command initializes Jasmine in your project.
Open package.json and set Jasmine as your test script. You can do that by adding the following line to the file:
"scripts": { "test": "jasmine" }
To see Jasmine in action, enter the following commands in Terminal/Command Prompt:
jasmine examples
npm test
The first command will generate Jasmine example tests. The second command will run the example tests. If the setup was successful, you should get a message like “5 specs, 0 failures” in the terminal window.
Install Puppeteer
Now it’s time to install Puppeteer. In the root directory of your project, enter the following command in Terminal/Command Prompt to install Puppeteer.
npm i puppeteer
The installation may take a while depending on your internet speed. After a successful installation, Puppeteer will be included in your project’s package.json file.
Below is how the full content of package.json should look at this point of the tutorial:
{
"name": "login-app",
"version": "1.0.0",
"description": "a simple demo login form",
"main": "index.html",
"scripts": {
"test": "jasmine"
},
"author": "your name",
"license": "ISC",
"dependencies": {
"puppeteer": "^5.3.1"
},
"devDependencies": {
"jasmine": "^3.6.1"
}
}
If your file looks like that, you’re ready to move on to the next step.
Writing and Running Your Tests
Before you proceed, you may wish to clean up the Jasmine example tests. To do that, delete the following files:
spec/jasmine-examples (the entire folder)
spec/helpers (the entire folder)
spec/exampleSpecs.js
Once your Jasmine tests are cleaned up, you’re ready to go.
For the login page, we’ll be testing for the following scenarios:
- When a user enters a valid username and password combination.
- When the user enters an invalid password.
Inside the spec subdirectory, create a new JavaScript file and save it as loginSpec.js. After that, paste the following code in the file:
const puppeteer = require('puppeteer');

describe("login", () => {
    let browser = null;
    let page = null;
    const URL = 'http://127.0.0.1:8080';

    beforeEach(async () => {
        browser = await puppeteer.launch();
        page = await browser.newPage();
        await page.goto(URL);
    }, 90000);

    afterEach(async () => {
        await browser.close();
    });

    it("should display success notification if login detail is valid", async () => {
        await page.type('#username', 'JDoe2020');
        await page.type('#password', 'rango');
        await page.click('#login-btn');
        expect(await page.$('.alert-success')).toBeTruthy();
    });

    it("should display error notification if login detail is invalid", async () => {
        await page.type('#username', 'JDoe2020');
        await page.type('#password', '2020');
        await page.click('#login-btn');
        expect(await page.$('.alert-danger')).toBeTruthy();
    });
});
Let’s go through the code above in details:
The describe keyword is a function from the Jasmine package. It provides a label for the Jasmine test suite (a group of related tests). The label for the test above is login. The second parameter in describe is an arrow function, which holds each individual test.
Using the beforeEach() function, a new instance of Puppeteer is initialized. This function works just like you’d think it would: it’s executed before each test in the test suite.
To free resources, at the end of each test, the afterEach() function closes the Puppeteer browser. This function is executed at the end of each test.
The it() function from Jasmine represents a single test. The first parameter of the it() function is a descriptive label for the test while the second parameter is an arrow function. Each it() function in our code contains at least one expectation.
Our first test attempts to verify that the success message is displayed when a valid login detail is entered. Then, the second test attempts to verify that an error message is displayed when the login fails.
Ensure that you already have an active HTTP server running in a separate Terminal/CMD window. Then enter the npm test command in Terminal/CMD to run your tests.
The Test Result
Congratulations! You’ve successfully run end-to-end tests for a login page. If you followed along well, you should get a 2 specs, 0 failed message in the terminal. You can play around with the test code and try to make it fail intentionally.

Conclusion
This tutorial showed you how to use Puppeteer testing to save time and improve consistency in testing the flow of a login page.
With Puppeteer, you can rerun a test multiple times with just one command. We were able to test our login page using only code. In our tests, we opened a web page, typed in text, and clicked a button using code. We also verified that the page behaved as expected. Puppeteer makes end-to-end testing much more fun and much easier than testing code manually.
You can make end-to-end testing with puppeteer even easier using the Puppeteer recording tool from Testim. This tool can generate and record Puppeteer tests for you. In addition, you can edit, copy, and run the test in your favorite IDE.
We encourage you to also check out Root Cause, an open-source project by Testim to provide better troubleshooting of Puppeteer tests. It automatically captures screenshots, console logs, network HAR files, and the stack tract to help you diagnose failed tests.


