


Mocha is a popular JavaScript test framework that’s often used for testing Node.js applications. It’s a widely used testing tool for both JavaScript and TypeScript projects. However, using Mocha with TypeScript is a little different than JavaScript because TypeScript is a typed superset of JavaScript and, thus, requires type definitions for many of its features. In this post, we’ll show you how to get started using Mocha for TypeScript testing.
Prerequisites
To follow along with this tutorial, you should have the following:
- a basic understanding of TypeScript
- Node.js (version 14.0.0 or newer) and npm installed on your machine
- a code editor of your choice (we’ll be using Visual Studio Code)
Create a TypeScript Project
To create a new project named mocha-ts-demo, type the following command in your terminal or command prompt:
$ mkdir mocha-ts-demo && cd mocha-ts-demo
This creates a new directory called mocha-ts-demo and takes you inside this newly created directory. Now, initialize this as a new npm project by running the following command:
$ npm init -y
This creates a package.json file with default values. Next, to initialize TypeScript, run the following command:
$ tsc --init
This creates a tsconfig.json file inside the mocha-ts-demo directory with the default TypeScript configuration.
Install Development Dependencies for Mocha
First, make sure that you have Mocha installed. You can do this by running the following command from the terminal or command prompt:
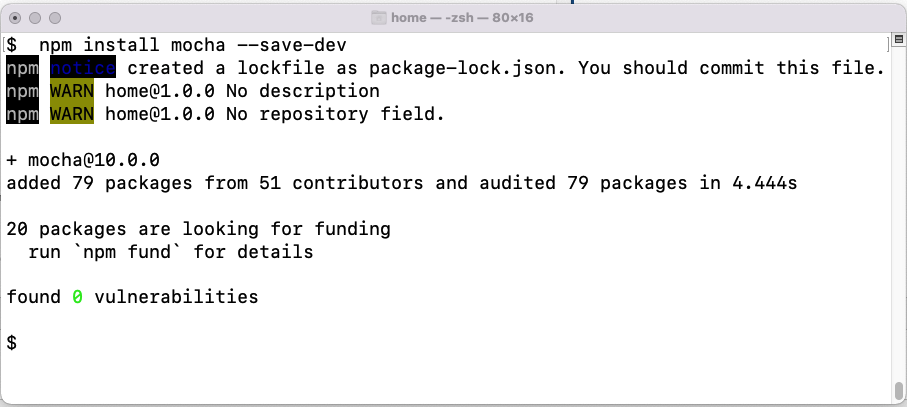
$ npm install mocha --save-dev
The above command installs the mocha npm package globally on your machine. After installation is completed successfully, you’ll see the following screen:
And if Mocha is installed correctly, you should be able to run the following Mocha command from the terminal:
$ mocha --version
After running that command, you should see the following output:
10.0.0
This verifies that Mocha was installed successfully. Next, let’s create a new project.
The next step is to install some dependencies that we’ll be using in this project. For this post, we’ll be using the following two dependencies:
- Chai: It’s an assertion library used with Mocha. It provides various functions to compare the actual and expected output.
- Sinon: It provides functions to create spies, stubs, and mocks.
To install types associated with Chai, run the following command:
$ npm install chai @types/chai --save-dev
And, similarly, to install Sinon and its associated types, run the following command:
$ npm install sinon @types/sinon --save-dev
The following command installs the types associated with Mocha.
$ npm install @types/mocha --save-dev
Next, install TypeScript by running the following command:
$ npm install --save-dev typescript
The above command installs TypeScript and ts-node as your development dependencies on your machine.
You can open the folder in Visual Studio Code or any other code editor of your choice.
Write Tests in TypeScript Using Mocha
In this section, we’ll see how to write Mocha tests to test a simple calculator function in TypeScript. The function takes two input parameters and returns the addition of those two numbers.
First, let’s create a new file named src/calculator.ts inside the mocha-ts-demo directory and add the following code to it.
// src/calculator.ts
export function addition (a: number, b: number): number {
   return a + b;
}
Now that we have the calculator function ready, let’s write the Mocha test for it. Create a new file named src/calculator.spec.ts inside mocha-ts-demo and add the following code to it:
// tests/calculator.spec.tx
import { assert } from "chai";
import { addition } from "./calculator";

describe("Calculator Tests", () => {
      it("should return 5 when 2 is added to 3", () => {
      const result = addition(2, 3);
      assert.equal(result, 5);
   });
});
In the above code, we’ve imported assert from Chai and the additional function from calculator.ts. The assert module provides various functions to compare the actual and expected output. In our case, we’re using the equal function to compare the result of the addition function with the expected value of 5.
Your folder structure should look like this:
mocha-ts-demo
├── node_modules
├── src
| └── calculator.ts
├── test
| └── calculator.spec.ts
├── package-lock.json
├── package.json
└── tsconfig.json
Now update the package.json file as below:
{
   "name": "mocha-ts-demo",
   "version": "1.0.0",
   "description": "Getting Started with Mocha for TypeScript Testing",
   "main": "index.js",
   "scripts": {
      "test": "mocha",
      "build": "tsc"
   },
   "keywords": [],
   "author": "",
   "license": "ISC",
   "devDependencies": {
       "chai": "^4.3.6",
       "mocha": "^10.0.0",
       "sinon": "^14.0.0",
       "@types/mocha": "^9.1.1",
       "@types/sinon": "^10.0.12",
       "@types/chai": "^4.3.1",
       "typescript": "^4.7.4"
   }
}
Execute the Tests Within an IDE
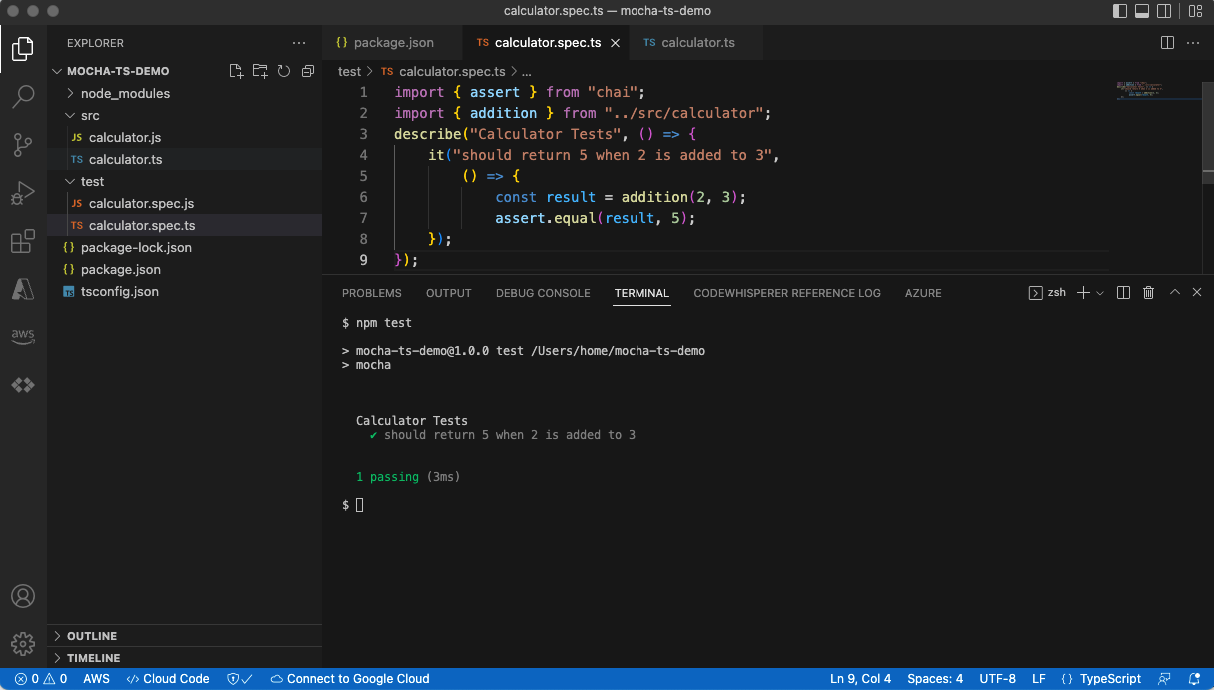
You can run the tests by executing the following command:
$ npm run build
$ npm test
If the tests are successful, you should get the following output:
Create Mocks Using Sinon
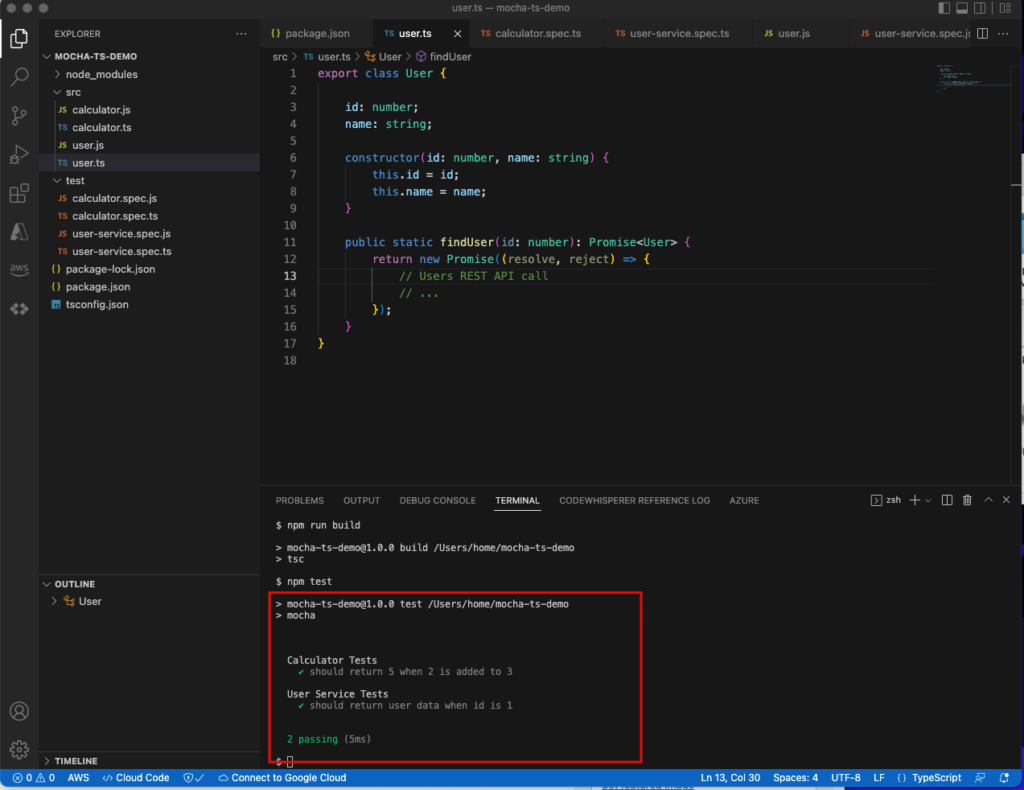
You can use the Sinon library to create mocks and stubs in your TypeScript tests. In this section, we’ll see how to use Sinon to create mocks for a simple function. First, let’s create a new file named src/user.ts inside the mocha-ts-demo directory and add the following code to it:
// user.ts
export class User {
  id: number;
  name: string;
  constructor(id: number, name: string) {
     this.id = id;
     this.name = name;
  }
  public static findUser(id: number): Promise<User> {
      return new Promise((resolve, reject) => {
         // User Service REST API call to fetch User with a specific id.
         // ...
     });
  }
}
In the user.ts file, we have a class called User. The class has two properties: id and name. We’ve also defined a constructor for the class that takes two parameters: id and name. The file also contains a static method called findUser. The function takes an ID as a parameter and returns a promise. The promise resolves to an object that contains the user data fetched from back-end User Service REST API. The code for calling the REST API is purposefully omitted for brevity.
Test Asynchronous Code With Mocks
Now that we have the findUser(id: number) function ready, let’s write the Mocha test for it. Create a new file named /test/user-service.spec.ts inside the same mocha-ts-demo project folder and add the following code to it:
import { assert } from "chai";
import sinon from "sinon";
import {User} from "../src/user";

describe("User Service Tests", () => {
   it("should return user data when id is 1", async () => {
      // create a mock for the User class
      const userMock = sinon.mock(User);

     // return a mock user when the getUser function is called with id 1
     userMock.expects("findUser").resolves(newUser(1, "John"));

     // call the findUser function
     constuser: User = awaitUser.findUser(1);

     // assert that the user id is 1
     assert.equal(user.id, 1);
  });
});
In the above code, we have imported assert object from chai and sinon object from the Sinon library. We’ve also imported the User class from the /src/user.ts file. Next we’ve created a test group called “User Service Tests” to group all test related to User Service. The it() function is used to define a test. In this case, we’re testing that the findUser function returns the correct user data when we pass it an ID of 1.
Then, the sinon.mock() function is used to create a mock for the User class. This means that we’re creating a fake User object that we can use for our tests. After that, we tell our mock what to do when its findUser function is called with an ID of 1. We tell it to return a new User object with an ID as 1 and name as John. This is done using expext().resolves(). Finally, we assert that the user ID is 1 using the assert.equal() function. If it is, then our test passes. Otherwise, it fails.
You can run your test once again using the following command (same as before):
$ npm run build
$ npm test
After your test executes successfully, you should get the following output:
Conclusion
Now that you’ve learned how to write and run tests for your TypeScript code using Mocha, we encourage you to start writing tests for all of your projects. By doing so, you’ll be able to catch bugs early on and ensure that your code is working as expected. In addition, using a testing framework like Mocha will help you make sure that your code remains testable and maintainable in the long run.


