


Setting up a Selenium-Jenkins task comes with a lot of advantages for developers. Especially given how continuous integration / continuous deployment (CI/CD) pipelines need frequent tests. Achieving such a configuration is desirable as it automates even the automated tests themselves.
This post will show interested developers how to set up and start running automated tests with each CI/CD pipeline cycle. We’ll not limit ourselves to the Selenium-Jenkins pair and method of achieving automation orchestration. Expect to discover an alternative (and easier) way to configure automated tests’ start, execution, and documentation process.
To get us going, let’s review some reasons why the Jenkins-Selenium pair became a sought-after setup. We’ll start with their key features and combined strengths.
Key Features of Jenkins
![]()
To say Jenkins monitors your pipeline would be an understatement. This is why the term “orchestration” has been used to describe the way it works. In what can be compared to the conducting of a musical ensemble, Jenkins plays the following roles:
- Initiating automated tests each time a new build is available (which is what this post is about)
- Distributing the latest builds to an array of machines
- Gathering an elaborate log of all the activities along a pipeline
- Communicating events and logs to listed engineers’ emails
- Being the backbone for third-party apps that help optimize a developer’s pipeline
If you had to carry out these tasks manually, CI/CD would be too demanding on both the time and effort fronts. Think of Jenkins as that all-convenient butler for your software development project.
Selenium Key Features
![]()
The Selenium testing framework is packed with testing tools. You can use Selenium to conduct tests on your applications before deployment. Here are a few features of Selenium:
- You can set up Selenium to run tests for different browsers (one at a time).
- The tests above are compatible with any operating system environment.
- Selenium is a feature-rich testing tool.
While it does have these beneficial features, Selenium still has some shortcomings that make developers think twice before using it.
- The configuration process is cumbersome.
- When you hit a snag during tests, modifying the test script requires more than just domain-specific language proficiency.
- While Selenium works smoothly with Chrome and Safari, you may encounter hardships setting up and conducting tests in Firefox.
- Changes to application code often break Selenium tests that rely on static locators.
Let’s discover why it makes sense to inject some testing automation into an orchestration tool.
Why Use Jenkins With Selenium?
As a pair, Selenium and Jenkins make it difficult to overlook your test routines. Every time a build is executed, the next step is to execute the testing—and it starts regardless of how many branches of the build need to be deployed. Alone, Selenium logs can be tedious to comb through. However, when you have tests run under Jenkins, you can access builds and their tests through links. This method reduces the amount of time a developer would spend trying to figure out why a test failed.
Getting Started With Jenkins + Selenium
Jenkins is compatible with all operating environments (systems). This comes in handy when you have more than a single project for which to configure Selenium. To install Jenkins on your personal machine, you can check the official Jenkins website, which will provide the latest builds (LTS too). This is the route we’ll take for this post. Usually, you’d have the Jenkins instance in the cloud. The site we linked has a comprehensive handbook for doing this on whichever cloud platform you choose.
The easiest way to do this on a Mac is by running a few Homebrew commands. We’re assuming you have h/brew on your machine already. The package installer way is deprecated (at the time of writing). Run a quick brew -v command in bash to confirm that you have the latest binaries before we go ahead.
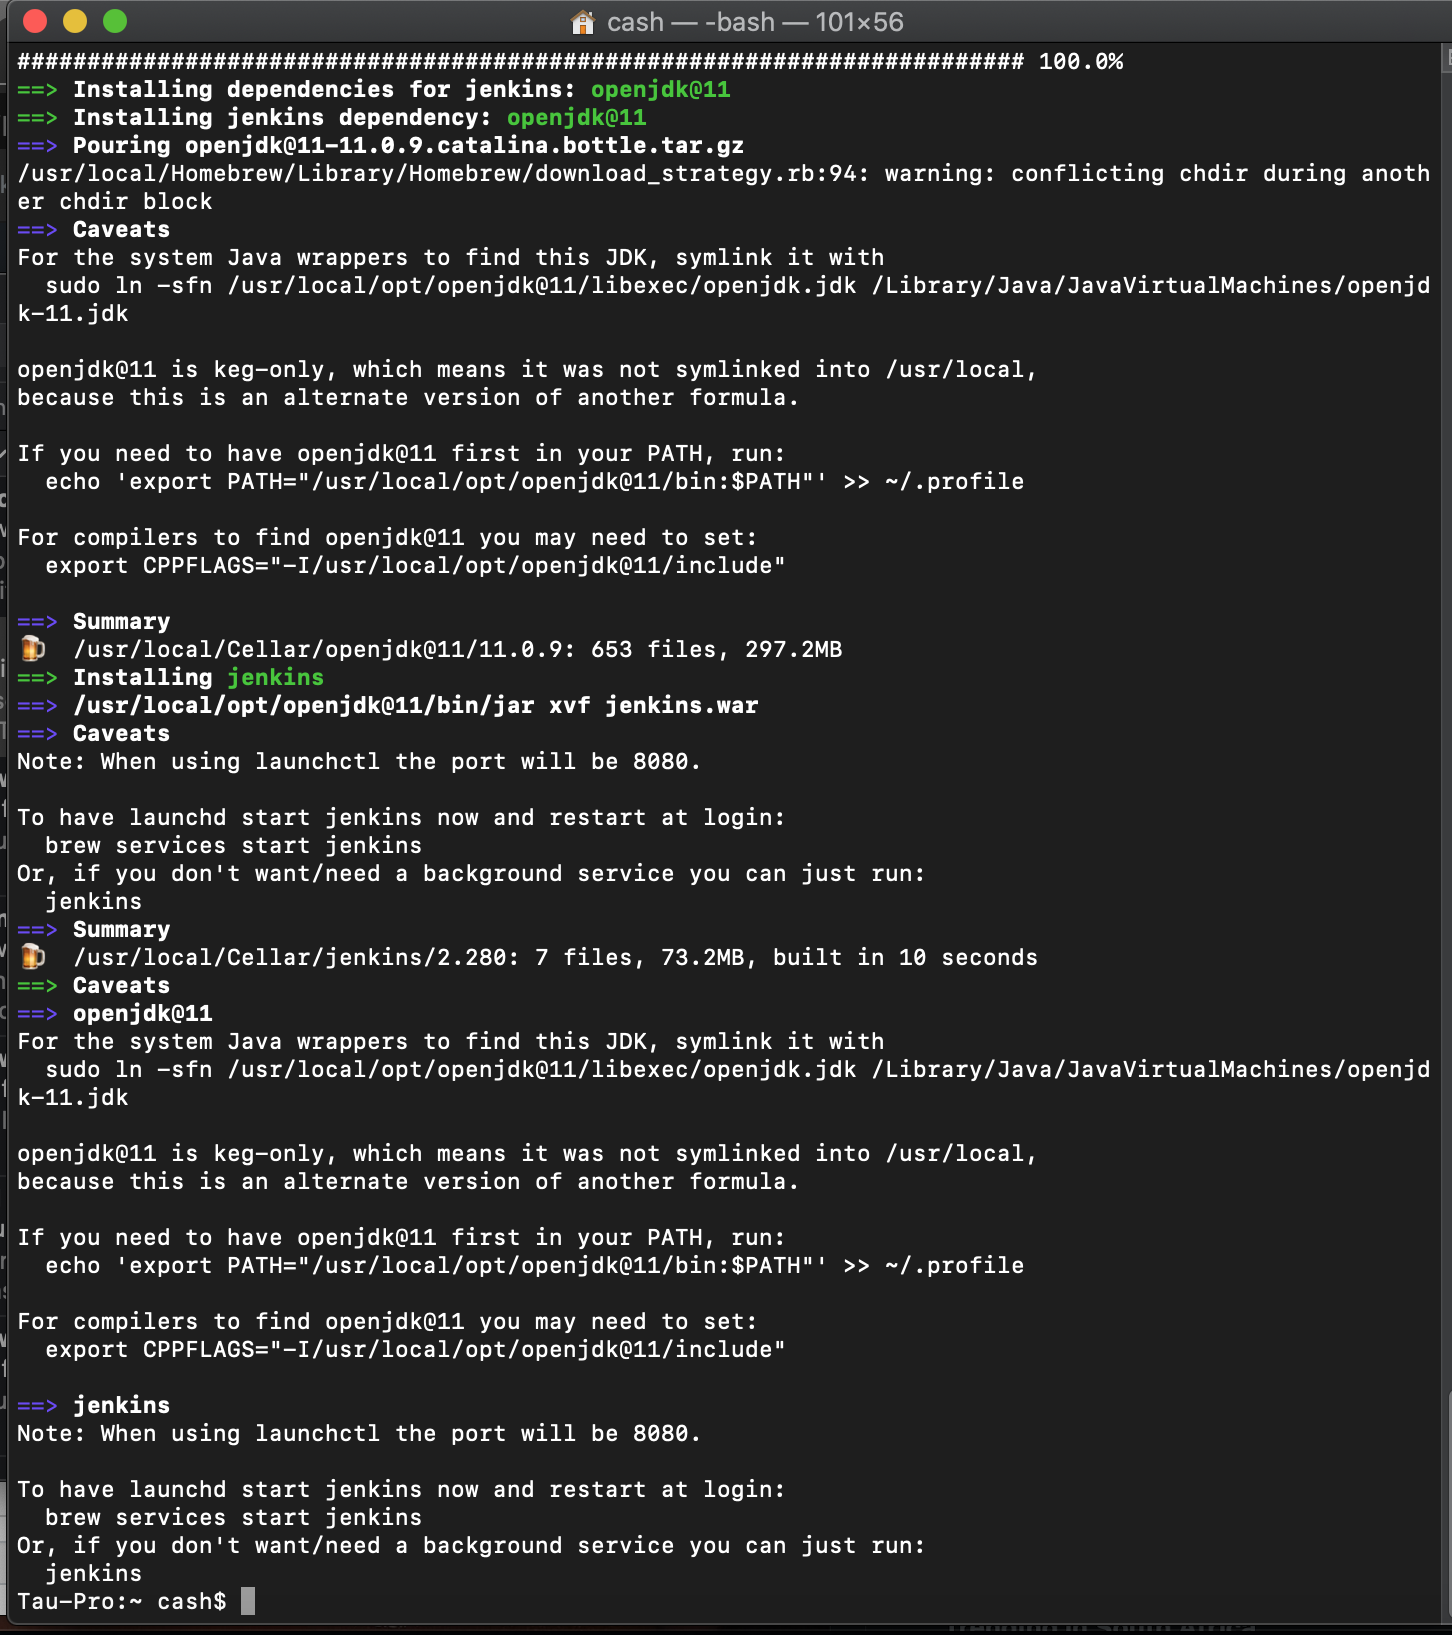
Then you can run the following standard command to get Jenkins on your machine: $ brew install Jenkins. This process should leave you with a success window like this:
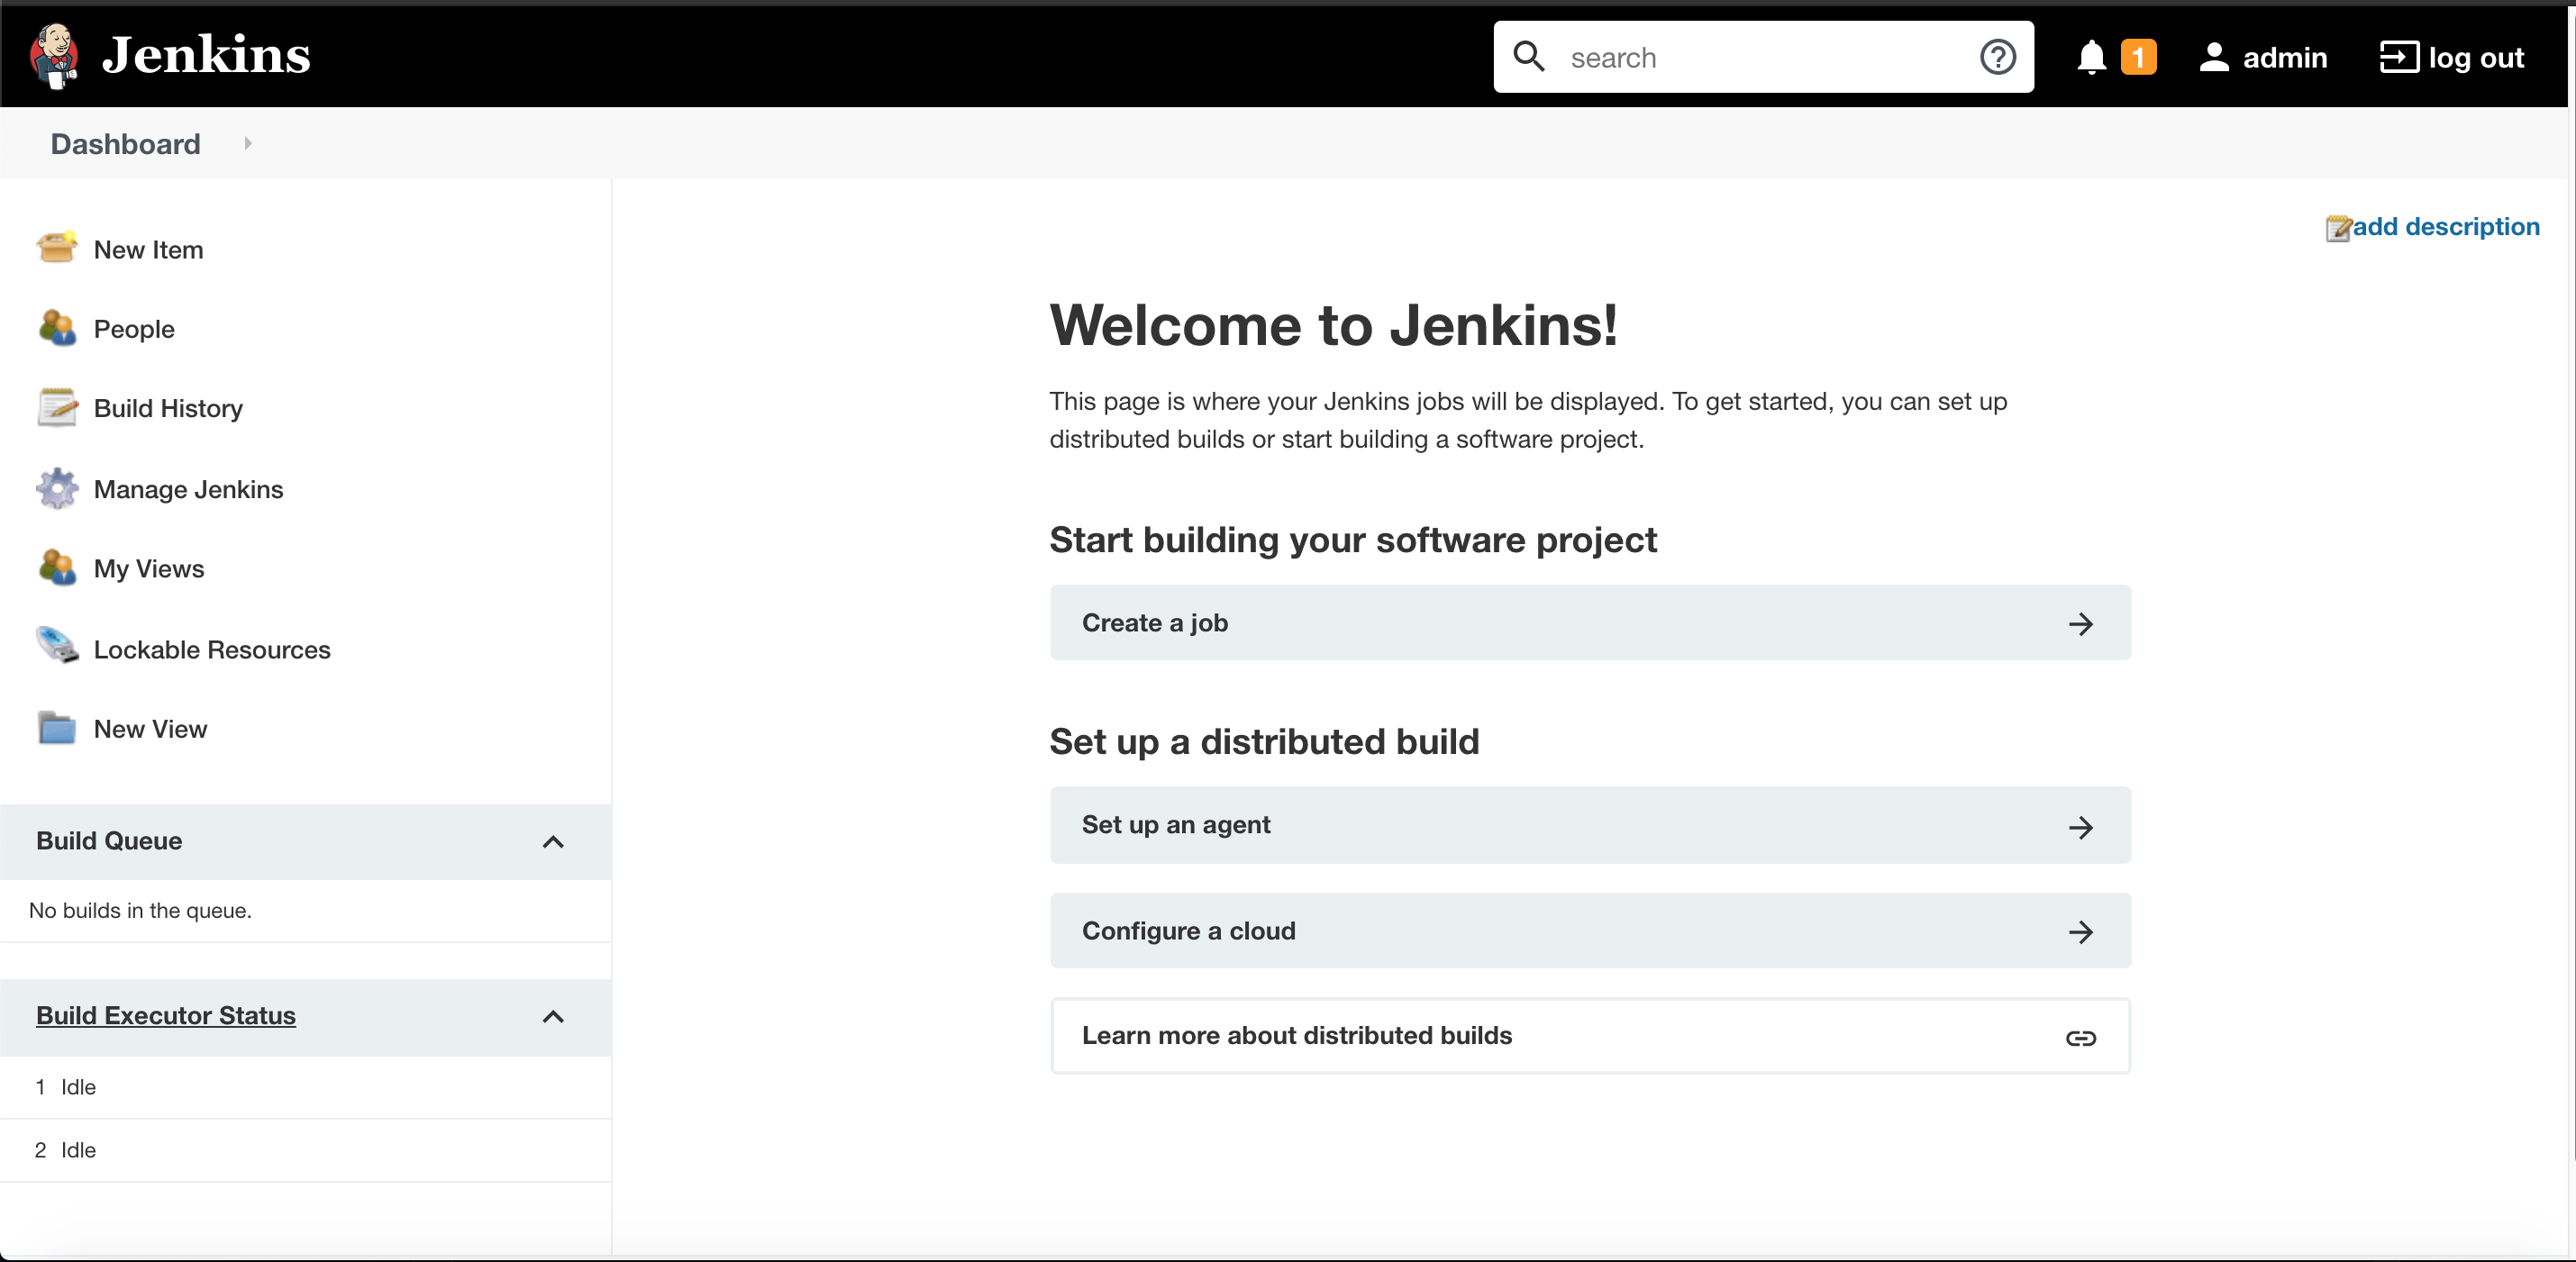
Starting Jenkins
With this out of the way, you can now access Jenkins on “localhost:8080”. You must take note of the autogenerated password. It should be visible on the screen during the first cycle of the $ jenkins command. If the process happens too quickly, you can also check for the password here: /Users/cash/.jenkins/secrets/initialAdminPassword.
Setting up Jenkins for the first time will require relinquishing access to a couple of your folders. Then you can skip any other user logins to use the tools from an admin’s standpoint.
The easiest way to add Selenium tools to such an instance would be through the GUI. Use the “Manage Jenkins” menu to access the “Plugin Manager” options. Quickly search for “Selenium” under the available plugins tab. You should get results as displayed below:

We’ve gone ahead and highlighted one that installs ChromeDriver to run Selenium tests on all the projects managed by Jenkins. Once you install this plugin and run it, make sure to follow the installation roots of any drivers to ensure they’re configured to your liking. Then make sure you write the tests for your application and specific browser type. The samples you get on GitHub are just a starting place; your app and theirs are different. Thus the need for you to write your own scripts.
If you’re thinking, “there must be an easier way to do all this,” then you’re right. There actually is a better way to get some tests running each time a build passes through your pipeline.
Easier Alternative to Orchestrate Automated Tests in Jenkins
Testim provided an easier way to incorporate automated tests into your Jenkins instances. Testim simplifies the boring and error-prone process of writing and debugging scripts for each functional test you create. With Testim, you can record a user flow, add some configurations in the visual test editor, and even customize with code. Because Testim uses AI-powered smart locators to identify and lock-in visual elements in the DOM, it makes the tests much more stable, so you spend less time maintaining them.
Testim and Jenkins’s Configuration is simple; you copy a script that Testim autogenerates into your Jenkins server. For more, see the detailed documentation. This process not only works for Jenkins and Testim but other popular CI tools like GitLab, CircleCI, Travis, and more.
Once connected, you can run concurrent tests for each browser type in Testim. It eliminates the (slow) single test per instance wait that developers endure with ChromeDriver and SafariDriver.
To give you an idea of what it’s like to use Testim to run tests, consider the following of its features:
- You can create AI-powered and stabilized front-end testing without any complex CLI commands.
- Nontechnical team members can help perfect tests by editing them in a visual editor.
- Testim’s root cause analysis tools shorten troubleshooting processes significantly.
- Reporting is built-in and visual, so you can quickly understand the status of your tests.
Not sure if you’re ready to migrate to Testim? Sign up for a free account, write some tests and connect it to Jenkins. A free account enables you to run up to 1000 tests per month.
Jenkins isn’t going anywhere. Not as long as CI helps developers accelerate release processes and ship code faster. It only helps to use an equally intuitive testing framework.
What to read next
See how test status can help you build trust in tests to run them in your CI.


