

")
Today we’re here to talk about JavaScript end-to-end testing (E2E testing for short). Most web applications are written in JavaScript so when you think of E2E testing for JavaScript, you are simply saying, E2E testing for web applications.
If you’re a regular reader of this blog, then you know that we’ve covered E2E testing in the past. Yet we’re covering it again, for one simple reason: despite being one of the most critical forms of automated software testing, it’s still one of the most misunderstood. This post is our humble attempt to improve this scenario. Since it consists of an introductory walkthrough of E2E tests, you can think of it as a compliment or sequel to our earlier introductory guide on the topic.
By the end of this post, you’ll not only know about E2E tests but also be able to create your tests with Testim’s codeless automation tool.
JavaScript End-to-End Testing Basics
As promised, this post will feature a hands-on guide to E2E testing. However, before we get there, we must brush up our knowledge of the basics. Feel free to skip this section if you’re well familiar with E2E testing.
What Are E2E Tests?
End-to-end tests are a form of software testing whose goal is to test the application as real users use it. It’s called end-to-end because the test starts by exercising one end of the application (the user interface) and going all the way through the other end (the database or whatever storage mechanism the app uses), exercising all the layers in between. When it comes to a web application, you would navigate to its URL, perform some action on it, and verify whether it behaves as intended.
When to Do E2E Tests
Shift-left testing is the idea that you should start testing as early as possible in the software development lifecycle. In general, shift-left testing is a great practice. By incorporating testing into the earliest phases of an application’s development, you can shorten feedback cycles, catch defects earlier when they’re cheaper to fix and increase the overall quality of your product.
However, the idea doesn’t make that much sense when it comes to end-to-end testing. Unlike other forms of testing, E2E testing requires that a given feature is complete so that it can be exercised in all its layers. So, to test a piece of functionality in the E2E style, you’d typically wait until it’s finished.
E2E Testing: A Hands-On Guide
It’s now time for you to roll up your sleeves and learn how to perform E2E testing using Testim with our 100% practical guide.
Signing Up for a Testim Account
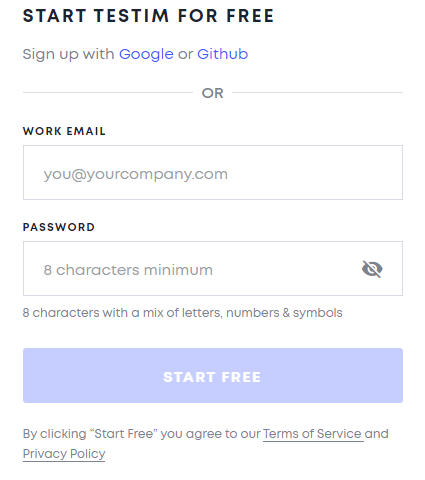
Start by going over to the Testim site and signing up for a free account. Keep in mind that you’ll need a custom domain e-mail address to sign up. Alternatively, you can sign up using your Google or GitHub account. You will want to use a Chrome browser because the application requires installing an extension.
After signing up for your free trial, log in to your account, and then click on the New Test button, located in the upper-right corner of the screen.

When you click the button, Testim will ask you to install their browser extension, which is required to record tests.

Installing the Testim Chrome Extension
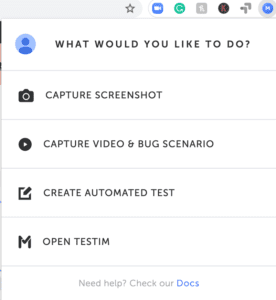
Clicking on the Install Extension button will take you to the extension’s page on the Chrome web store. After the installation is complete, click on the extension’s icon, and you’ll be prompted to log in to your Testim account.
Starting Your First Test
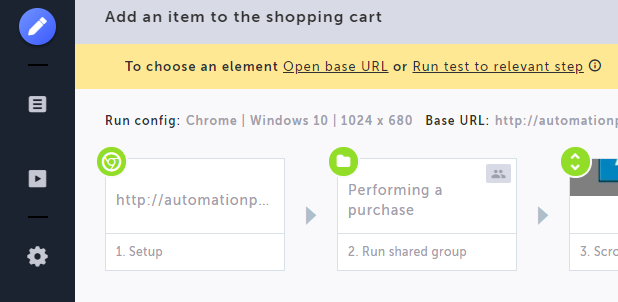
After you’re logged in, you can click again on the New Test button. You’ll see a screen asking you to build your first test skeleton. Don’t worry about what that means for now. Just enter “Performing a purchase” in the first text field, ignore the other, and click on the Done button on the bottom-right corner of the screen. After that, you’ll see a screen like this:
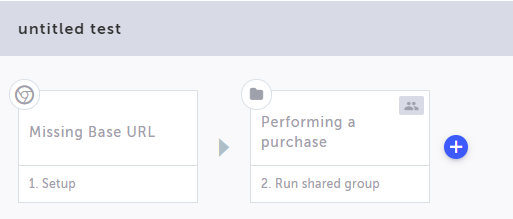
Hover over the first step and click on its Show Properties button.
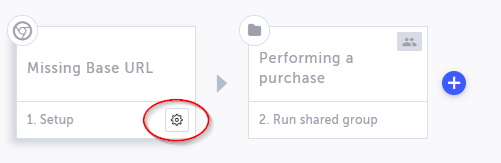
A panel will show up on the right side of the page. Go there and add “http://automationpractice.com/index.php” to the Base URL field. Enter “Add an item to the shopping cart” as the test name. You don’t need to worry about the other properties. Click on Save, and Testim will ask you to provide a message explaining your change.
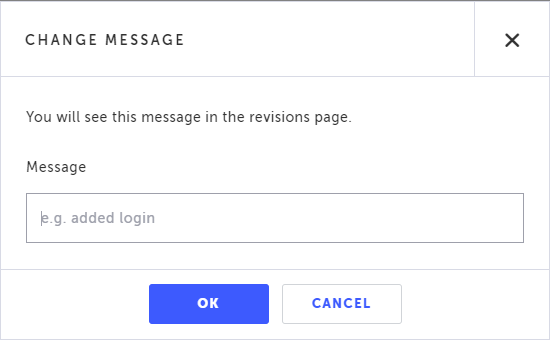
Testim has a revision history feature, allowing you to track the changes made to a test easily. Add a message like “Added the base URL” or something along those lines and click on OK.
Recording Your Test
Notice that Testim now displays the text you’ve entered in the last step as the name of the test. Cool. For your next step, you’ll have to click the Record button you see in the image below. After you hit the button, Testim will open a new Chrome window and will navigate to the base URL you’ve configured. Once you’re there, you can interact with the page, and Testim will record your actions.

So, click on the recording button. When the new Chrome window opens, you’ll see a screen like this:

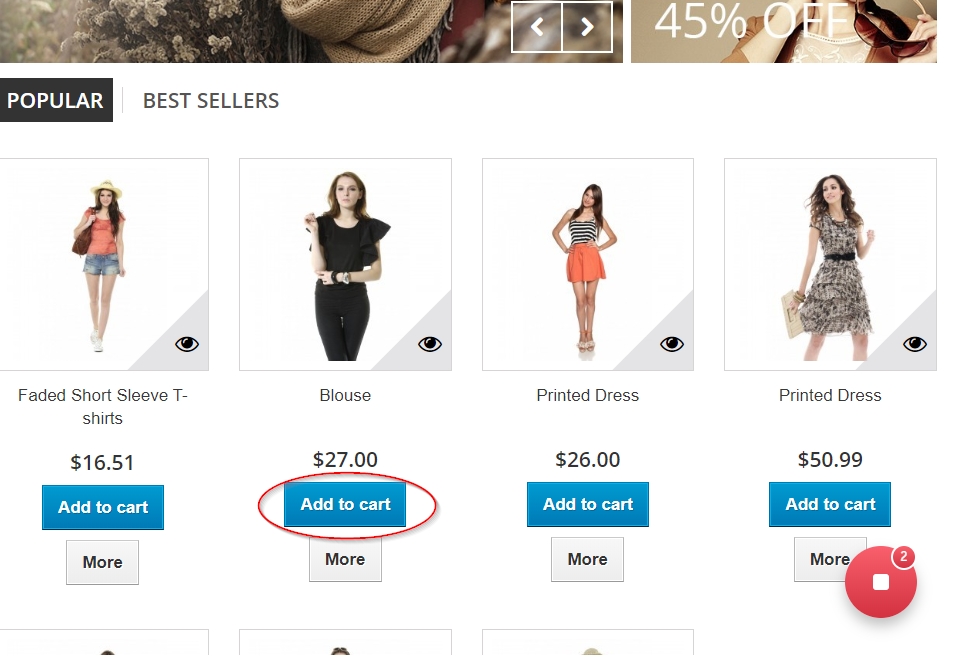
Scroll the page, hover over the second product, and click on Add to cart.
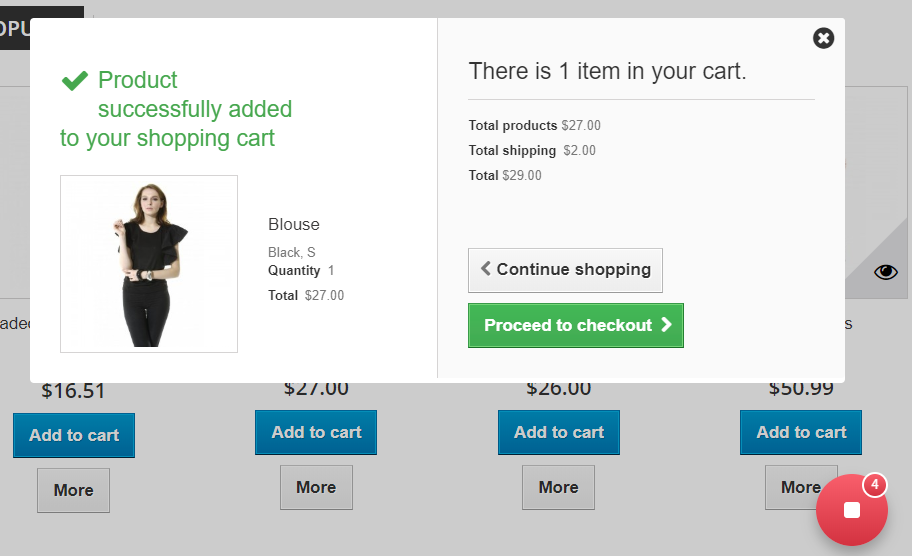
You’ll see a message saying the item is now in your cart. Click on Proceed to checkout to continue.
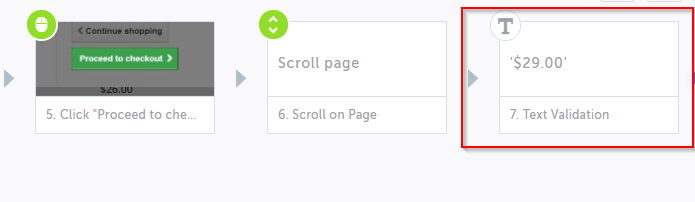
After that, scroll the page so you can see the product in your shopping cart. Check whether the total value is $29.00. After that, you can click on the red Stop button, which will take you back to the Testim visual editor, where you’ll see that the actions you’ve performed became test steps.

Now you can just click on Save and then add a message for the history revision. Congratulations! You’ve saved your first test using Testim! You can now take Testim’s suggestion and run your test. If everything went right, the test should pass, and you should see it in a list of test runs.
Adding a Validation
You’ve probably noticed that our test lacks something: it doesn’t perform any kind of verification, such as verifying that the item was successfully added to the shopping cart or checking whether the total amount was correct. This test is similar to a unit test with no assertions. Fortunately, it’s effortless to fix that.
To the right of the last test step, you’ll see a blue Add button. Clicking on it will cause a menu to be displayed. Go to the Validations button, as shown in the image below.

Click on the Validations button and then on Validate element text. Testim will show you a message saying that you either need to open the base URL or replay the current step in order to select an element. You’ll choose the former. Click on the link that says Open base URL.
That will make Testim open a new Chrome window with the base URL. Go there and repeat the exact same steps you did before. Go to the second product, add it to the cart, and then click on Proceed to checkout. Finally, scroll the page until you can see the total cost, which should be $29.00. Click on the value and then close this Chrome window and go back to Testim’s editor.
You’ll see that your test now contains a new step.
Hover over the new step and click on its Configuration button. The properties panel on the right will show up. It should look like this:
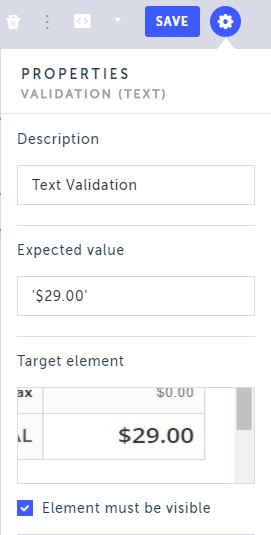
Everything looks all right, so go ahead and click on Save. Congratulations! You’ve added your first validation using Testim.
End-to-End Testing With Testim: Have Your Cake and Eat It Too
End-to-end testing is crucial in web development since it’s the form of testing that most closely resembles the way a real user interacts with the app. Unfortunately, it’s often dismissed or ignored in favor of other types of testing. To be fair, E2E testing deserves some of the criticism it gets, especially when it’s performed using tools and techniques that might lead to brittle tests.
When done right, though, E2E testing is an invaluable tool in the journey toward software quality. And the way to do E2E testing right is twofold. The first part is education. Since software testing in 2020 is everyone’s responsibility, all members of a team must learn about testing, no matter their job title.
The second piece of the puzzle is tooling. Using a modern AI-powered testing solution, you can overcome the main pitfalls of E2E testing, placing it back to its deserved place in a well-developed testing strategy.


