

")
Today we’re here to talk about JavaScript unit testing in Visual Studio. If you’re a .NET developer creating web applications in Visual Studio, it makes sense for you to use just a single environment to test both your C# (or another .NET language) code and your JavaScript code.
In this post, we’re going to walk you through a simple tutorial on how to start unit testing your JavaScript code using the famous IDE. Let’s get started.
JavaScript Unit Testing in Visual Studio: Installing the Necessary Tools
Visual Studio
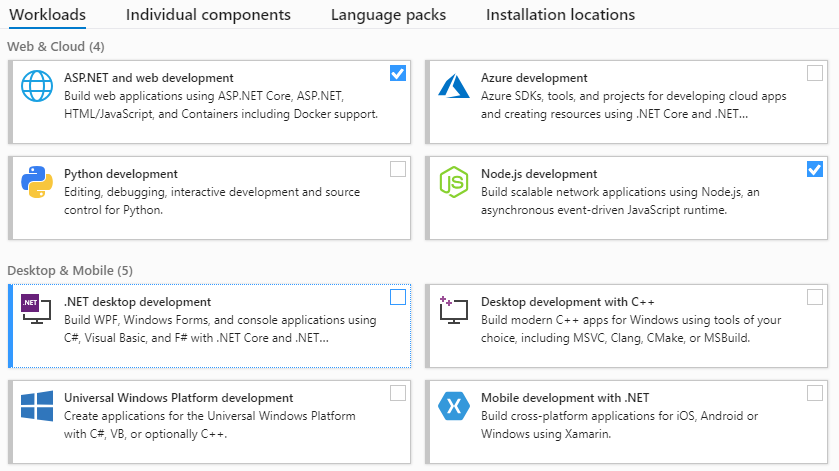
For this tutorial, we’re going to use the free Visual Studio 2019 Community Edition. If you haven’t already, download it and install it, so you can follow along with the tutorial. When selecting the components for the installation, make sure to select at least the “ASP.NET and web development” and “Node.js development” workloads, because you’re going to need those.
Node.js
As the previous section says, you’re going to need Node.js for this tutorial, so if you don’t already have it, please install it.
Chutzpah
The next step is downloading and installing some Visual Studio extensions. The first of those is Chutzpah Test Adapter. Chutzpah is an open-source tool that enables you to run JavaScript unit tests, both from the command line and from Visual Studio. Let’s install it. On Visual Studio, go to the Extensions menu and then click on “Manage Extensions.” In the new window, select “Online” from the options in the left panel. Then use the search box in the left and search for “chutzpah,” like in the following image:
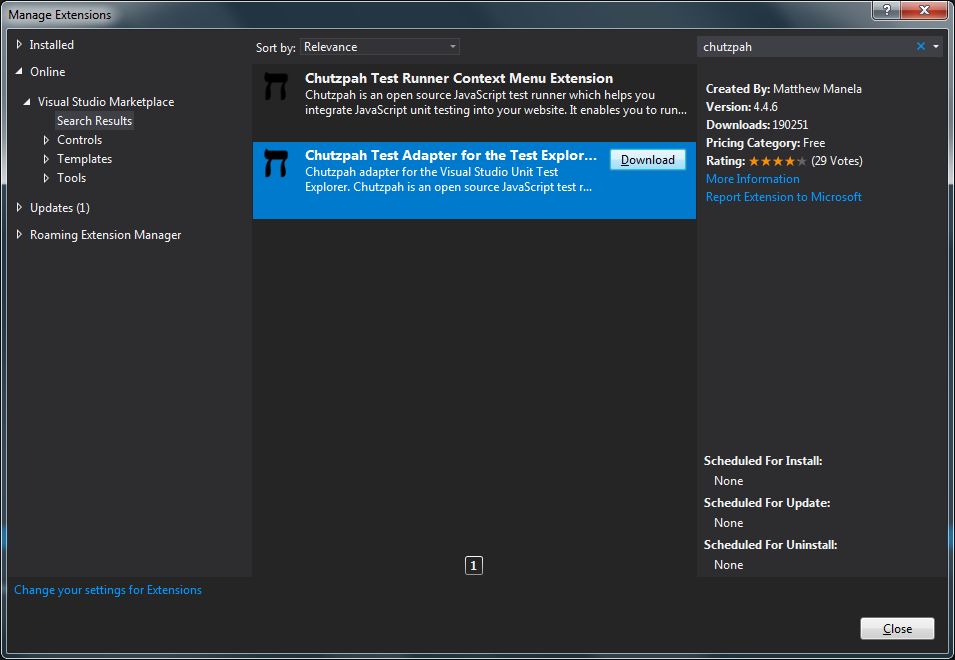
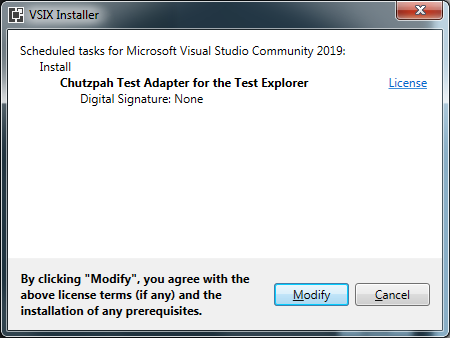
As you can see, the search brings two results. For this tutorial, we’re going to use the second one, called “Chutzpah Test Adapter for the Test Explorer.” Select it, and click on the “Download” button. After that, you’ll see a message asking you to close all Visual Studio windows, so the installation can go on. Do that, and you’ll be prompted with a new window, like in the following image. Click on “Modify,” and the installation will start.
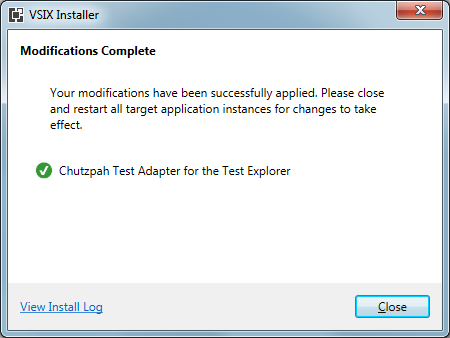
After the installation is complete, you’ll see a window like the one below. Click on “Close,” and then you’ll be ready to open Visual Studio again.
Jasmine
The next step is downloading the Jasmine NuGet package to our project. Jasmine is an open-source behavior-driven testing framework for JavaScript.
Go to “Tools,” then “NuGet Package Manager” and then “Package Manager Console.” There type the following command:
Install-Package jasmine
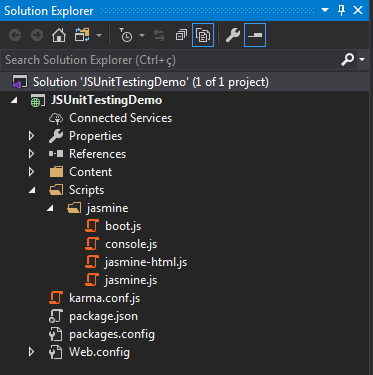
After the installation is complete, you’ll see a new “Scripts” folder in Solution Explorer:
Creating an Application to Test
Now that we have the tools installing part out of the way, we need to get an application to test it. So, let’s create one. Go to File > New > Project (or use the CTRL + Shift + N shortcut). Then, choose the “ASP.NET Web Application (.NET Framework) template, as the following image shows. After that, click “Next.”

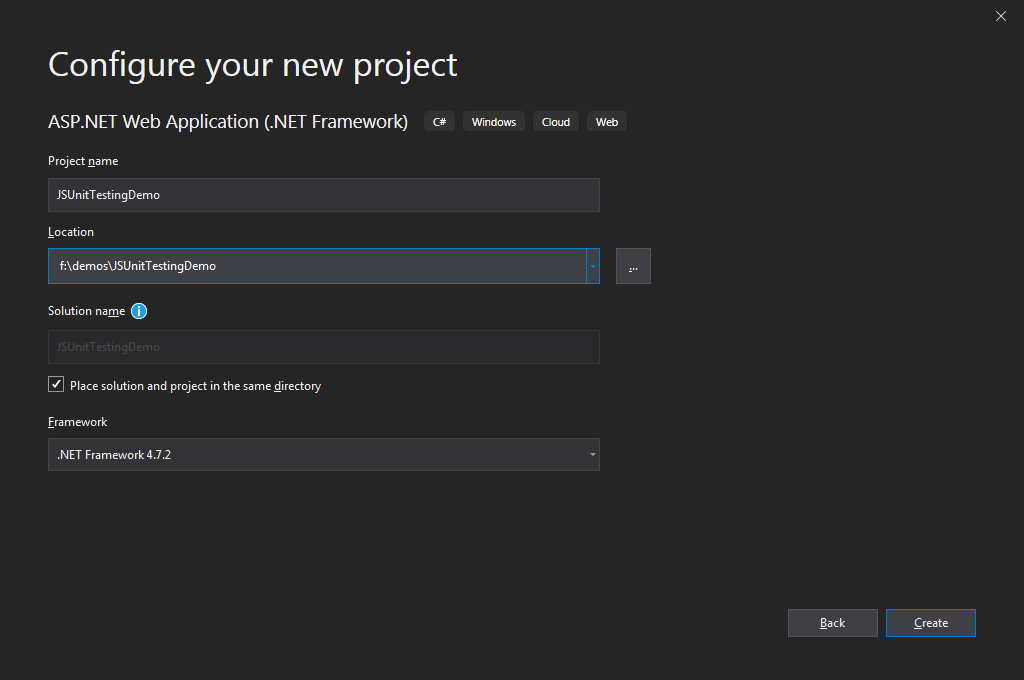
In the next screen, enter name and location for the project:
Finally, click on “Create.” On the next screen, choose the empty template for your project, and then click on “Create.”
![]()
You can now leave Visual Studio for a while. Open your terminal, navigate to the project’s folder, and execute the following command:
npm init
You’ll be prompted for several pieces of information. Just press enter after each question, and Node will go with the defaults. After you’re done, you’re going to have a package.json file created for you. Mine looks like this:
{
  "name": "jsunittestingdemo",
  "version": "1.0.0",
  "description": "",
  "main": "index.js",
  "scripts": {
    "test": "echo \"Error: no test specified\" && exit 1"
  },
  "author": "",
  "license": "ISC"
}
Time to go back to VS. When you’re there, go to Solution Explorer. Right-click your project, go to “Add,” then “Existing Item….” Locate the package.json file and click on “Add.” After that, the package.json file will show up on Solution Explorer, along with the other files in the solution.
Configuring Our package.json File
The next step is to change the package.json file, adding to it the dependencies we’re going to need in order to test our code. Open your file and replace its contents with the following:
{
  "name": "jsunittestingdemo",
  "version": "1.0.0",
  "description": "",
  "main": "index.js",
  "scripts": {
    "karma": "karma start"
  },
  "author": "",
  "license": "ISC",
  "devDependencies": {
    "karma": "4.4.1",
    "karma-jasmine": "2.0.1",
    "karma-phantomjs-launcher": "1.0.4",
    "karma-html-detailed-reporter": "2.1.0",
    "karma-mocha-reporter": "2.2.5",
    "karma-chrome-launcher": "2.2.0",
    "karma-coverage": "2.0.1",
    "phantomjs-prebuilt": "2.1.16",
    "jasmine": "3.5.0",
    "jasmine-core": "3.5.0"
  }
}
The changes that were made were basically two:
- We’ve added a “devDependencies” section, which declares the names and versions of the packages we’re going to need.
- In the “scripts” section, we’ve changed it to point to the “Karma” testing tool.
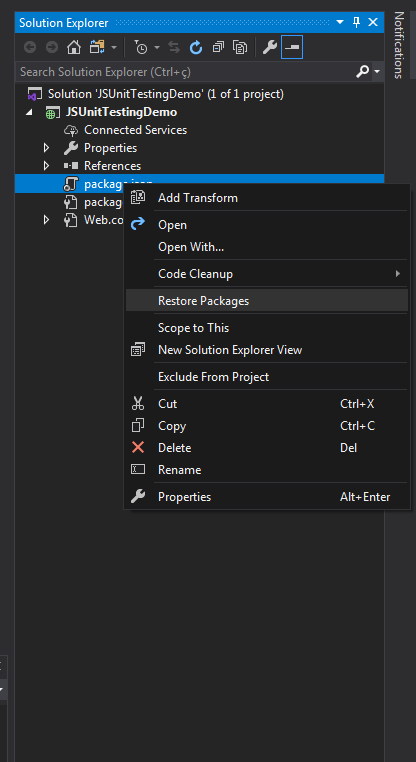
After editing and saving the file, you can right-click it and click on “Restore Packages,” like in the following image:
You’ll see a message on the Visual Studio status bar saying that the packages were successfully restored.
Configuring Karma
Karma is a test runner for JavaScript, and it’s one of the packages we’ve just added as a dependency to our package.json file. Now it’s time to configure Karma, so it knows where to find our tests, which test framework to use, and more.
Go back to the command line and run the following command:
node_modules\.bin\karma init karma.conf.js
Karma will prompt you to answer several questions. Press enter to choose the answer, or tab to change the available options. Here are the answers you should give:
Which testing framework? jasmine
Do you want to use Require.js? no
DO you want to capture any browsers automatically? PhantomJS
What is the location of your source and test files? [leave empty]
Should any of the files included by the previous patterns be excluded? [leave empty]
Do you want karma to watch all the files and run the tests on change? yes
As soon as you’re done answering the prompts, you’ll see a message saying that the configuration file was generated. The file’s name should be “karma.conf.js,” and it should be located inside your project’s folder. The next step is now to add the file to your solution using Visual Studio. To do that, follow the same steps you’ve used to add the package.json file.
Configuring Karma…Just a Little Bit More
Go back to Visual Studio and right-click on the project name to create a new folder. Call it “Specs.” That’s where we’re putting our test files. The production code goes in the “Scripts” folder created when we installed Jasmine.
We now need to tell karma where to find our tests and scripts, among other configurations. Open your karma.conf.js file and add the following content:
// list of files / patterns to load in the browser
files: [
‘Specs/*.js’
‘Scripts/*.js’
],
// available reports: https://npmjs.org/browse/keyword/karma-reporter
reporters: [‘progress’, ‘dots’, ‘htmlDetailed’, ‘mocha’],

// notify karma of the available plugins
plugins: [
‘karma-jasmine’,
‘karma-ktml-detailed-reporter’,
‘karma-mocha-reporter’,
‘karma-chrome-launcher’,
‘karma-phantomjs-launcher’,
‘karma-coverage’
],
// configure the HTML-detailed-reporter to put all results in one file
htmlDetailed: {
splitResults: false
},
Besides telling Karma where to find our tests, we’ve also made some other configurations, which are explained by the comments above each one.
After all of this configuration, we’re finally ready to start writing some tests.
At Last…It’s Time to Test!
Writing Our First Failing Test
Go to Solution Explorer. Right-click your “Specs” folder, then go to “Add,” then “JavaScript File.” Name the file “StringCalculatorTests.”
As soon as VS is done creating the file for you, paste the following content on it:
/// <reference path="..\Scripts/jasmine/jasmine.js" />
/// <reference path="..\Scripts/StringCalculator.js" />
describe('String Calculator', function () {
    it("should return zero when an empty string is passed", function () {
        expect(add('')).toEqual(0);
    });
});
The first line references the path to Jasmine, while the second does the same to our production file. Visual Studio will complain about the second line, saying that the file couldn’t be found. Don’t worry about that for now.
We then get to the test itself. This test is usually the first test one writes when solving the famous String Calculator Kata, developed by Roy Osherov.
After saving the file, you can go to the “Test” menu and then to “Test Explorer.” This will open the Test Explorer window, and you’ll be able to see (and run) the test. Right-click the test and click on “Run” to run it.

The test fails, which isn’t a surprise since the function it’s trying to test doesn’t exist yet. That’s exactly how you do it when performing TDD: we start by writing a failing test, then we make it pass.
Writing the Production Code
We’re now going to create our script with the “add” function, but we’re still not making the test pass. Go to Solution Explorer, right-click the “Scripts” folder and add a new JavaScript file called “StringCalculator.js.” Then, add the following content to it:
(function (window) {
    function add(stringNumbers) {
        return -1;
    };

    window.add = add;
})(window);
If you run the test again, you’ll see that it still fails, but for a different reason:
Message:
    Expected -1 to equal 0.
Making the Test Pass
Now, we’re going to make the test pass in a true TDD fashion. That is, we’re going to make the smallest change possible that makes the test pass. In our case, that simply means returning 0 instead of 1.
(function (window) {
    function add(stringNumbers) {
        return -1;
    };

    window.add = add;
})(window);

Now It’s on You
As you could see from this post, getting JavaScript unit testing working in Visual Studio is a little more involved than just opening your IDE and start testing right away. All of that work is definitely worth it, though, since testing is essential if you want to develop high-quality applications.
Also, keep in mind that not only of unit tests a solid testing strategy lives. You also need other types of testing, such as E2E (end-to-end) testing, performance/load testing, and many more.
Since you now have a working JavaScript unit testing environment working in your Visual Studio, you have the tools you need to keep practicing and improving your testing approach. Thanks for reading and happy testing!


